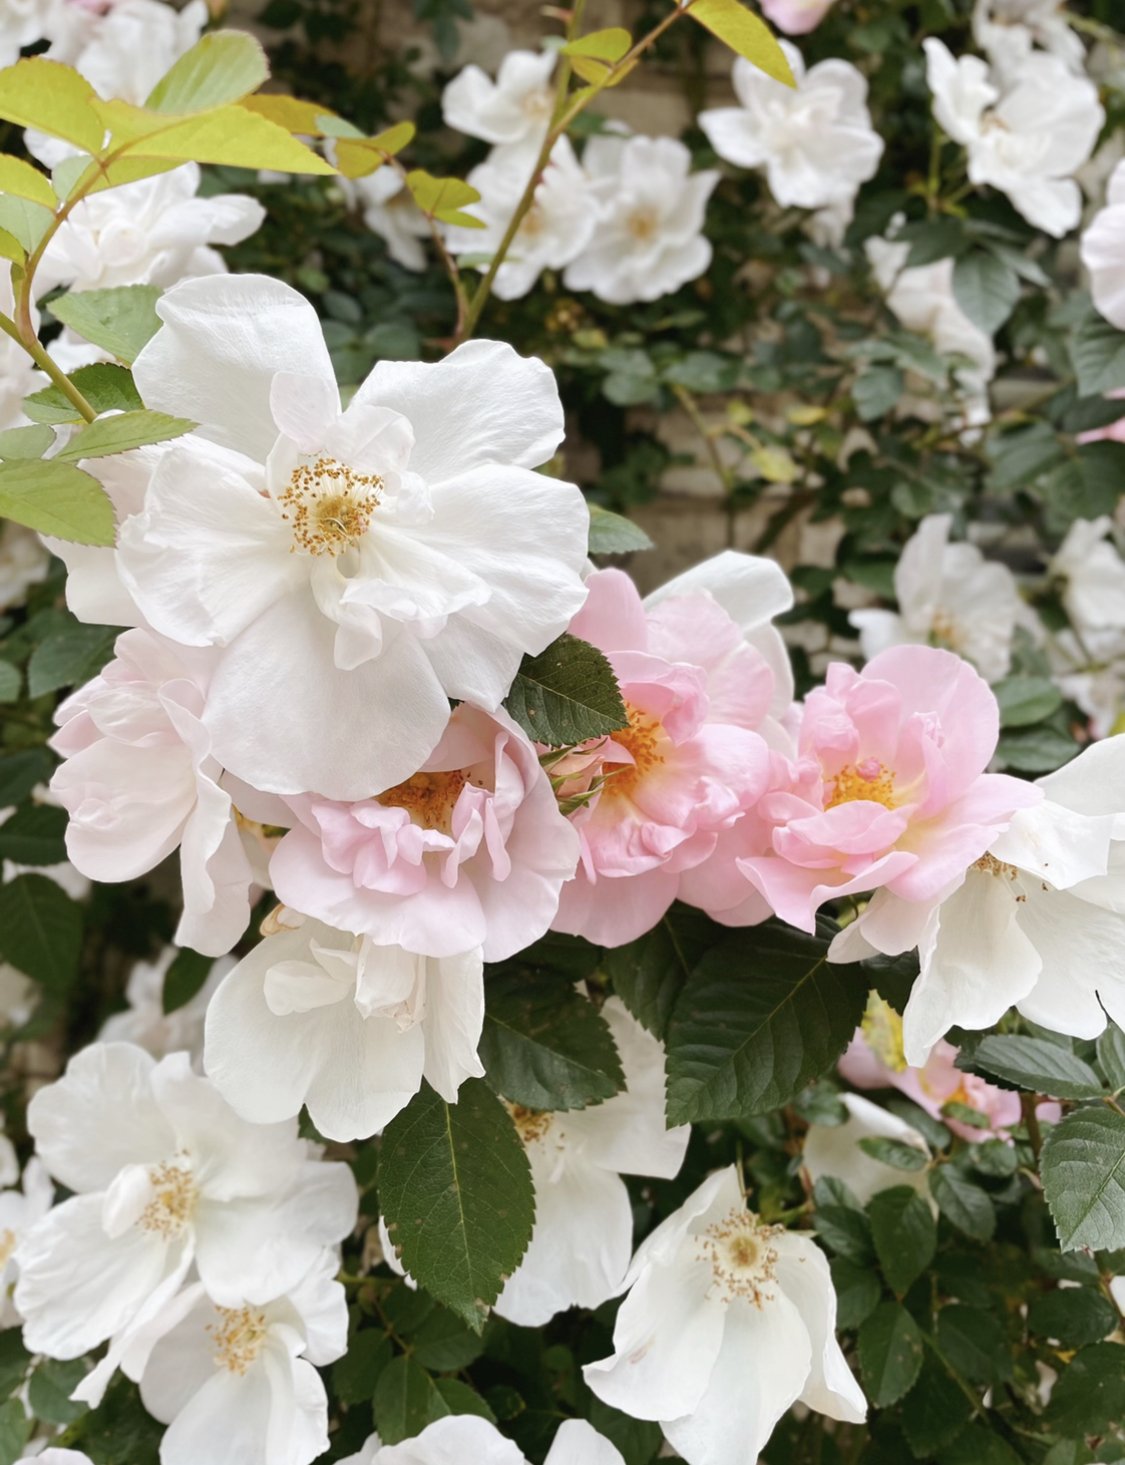
Is it May already? The grocery stores are filled with gardens of rainbow colored blooms and it’s giving us an extra boost of seasonal serendipity. There is something so effortlessly enchanting about fresh flowers. That’s why we want to dedicate this crafting session to preserving their beauty. This DIY would be the perfect gift for our favorite heroes this Mother’s Day. Whether you are crafting for Mom or for yourself, we think this would be a lovely addition to your gallery wall this Spring.
“Happiness is to hold flowers in both hands.”

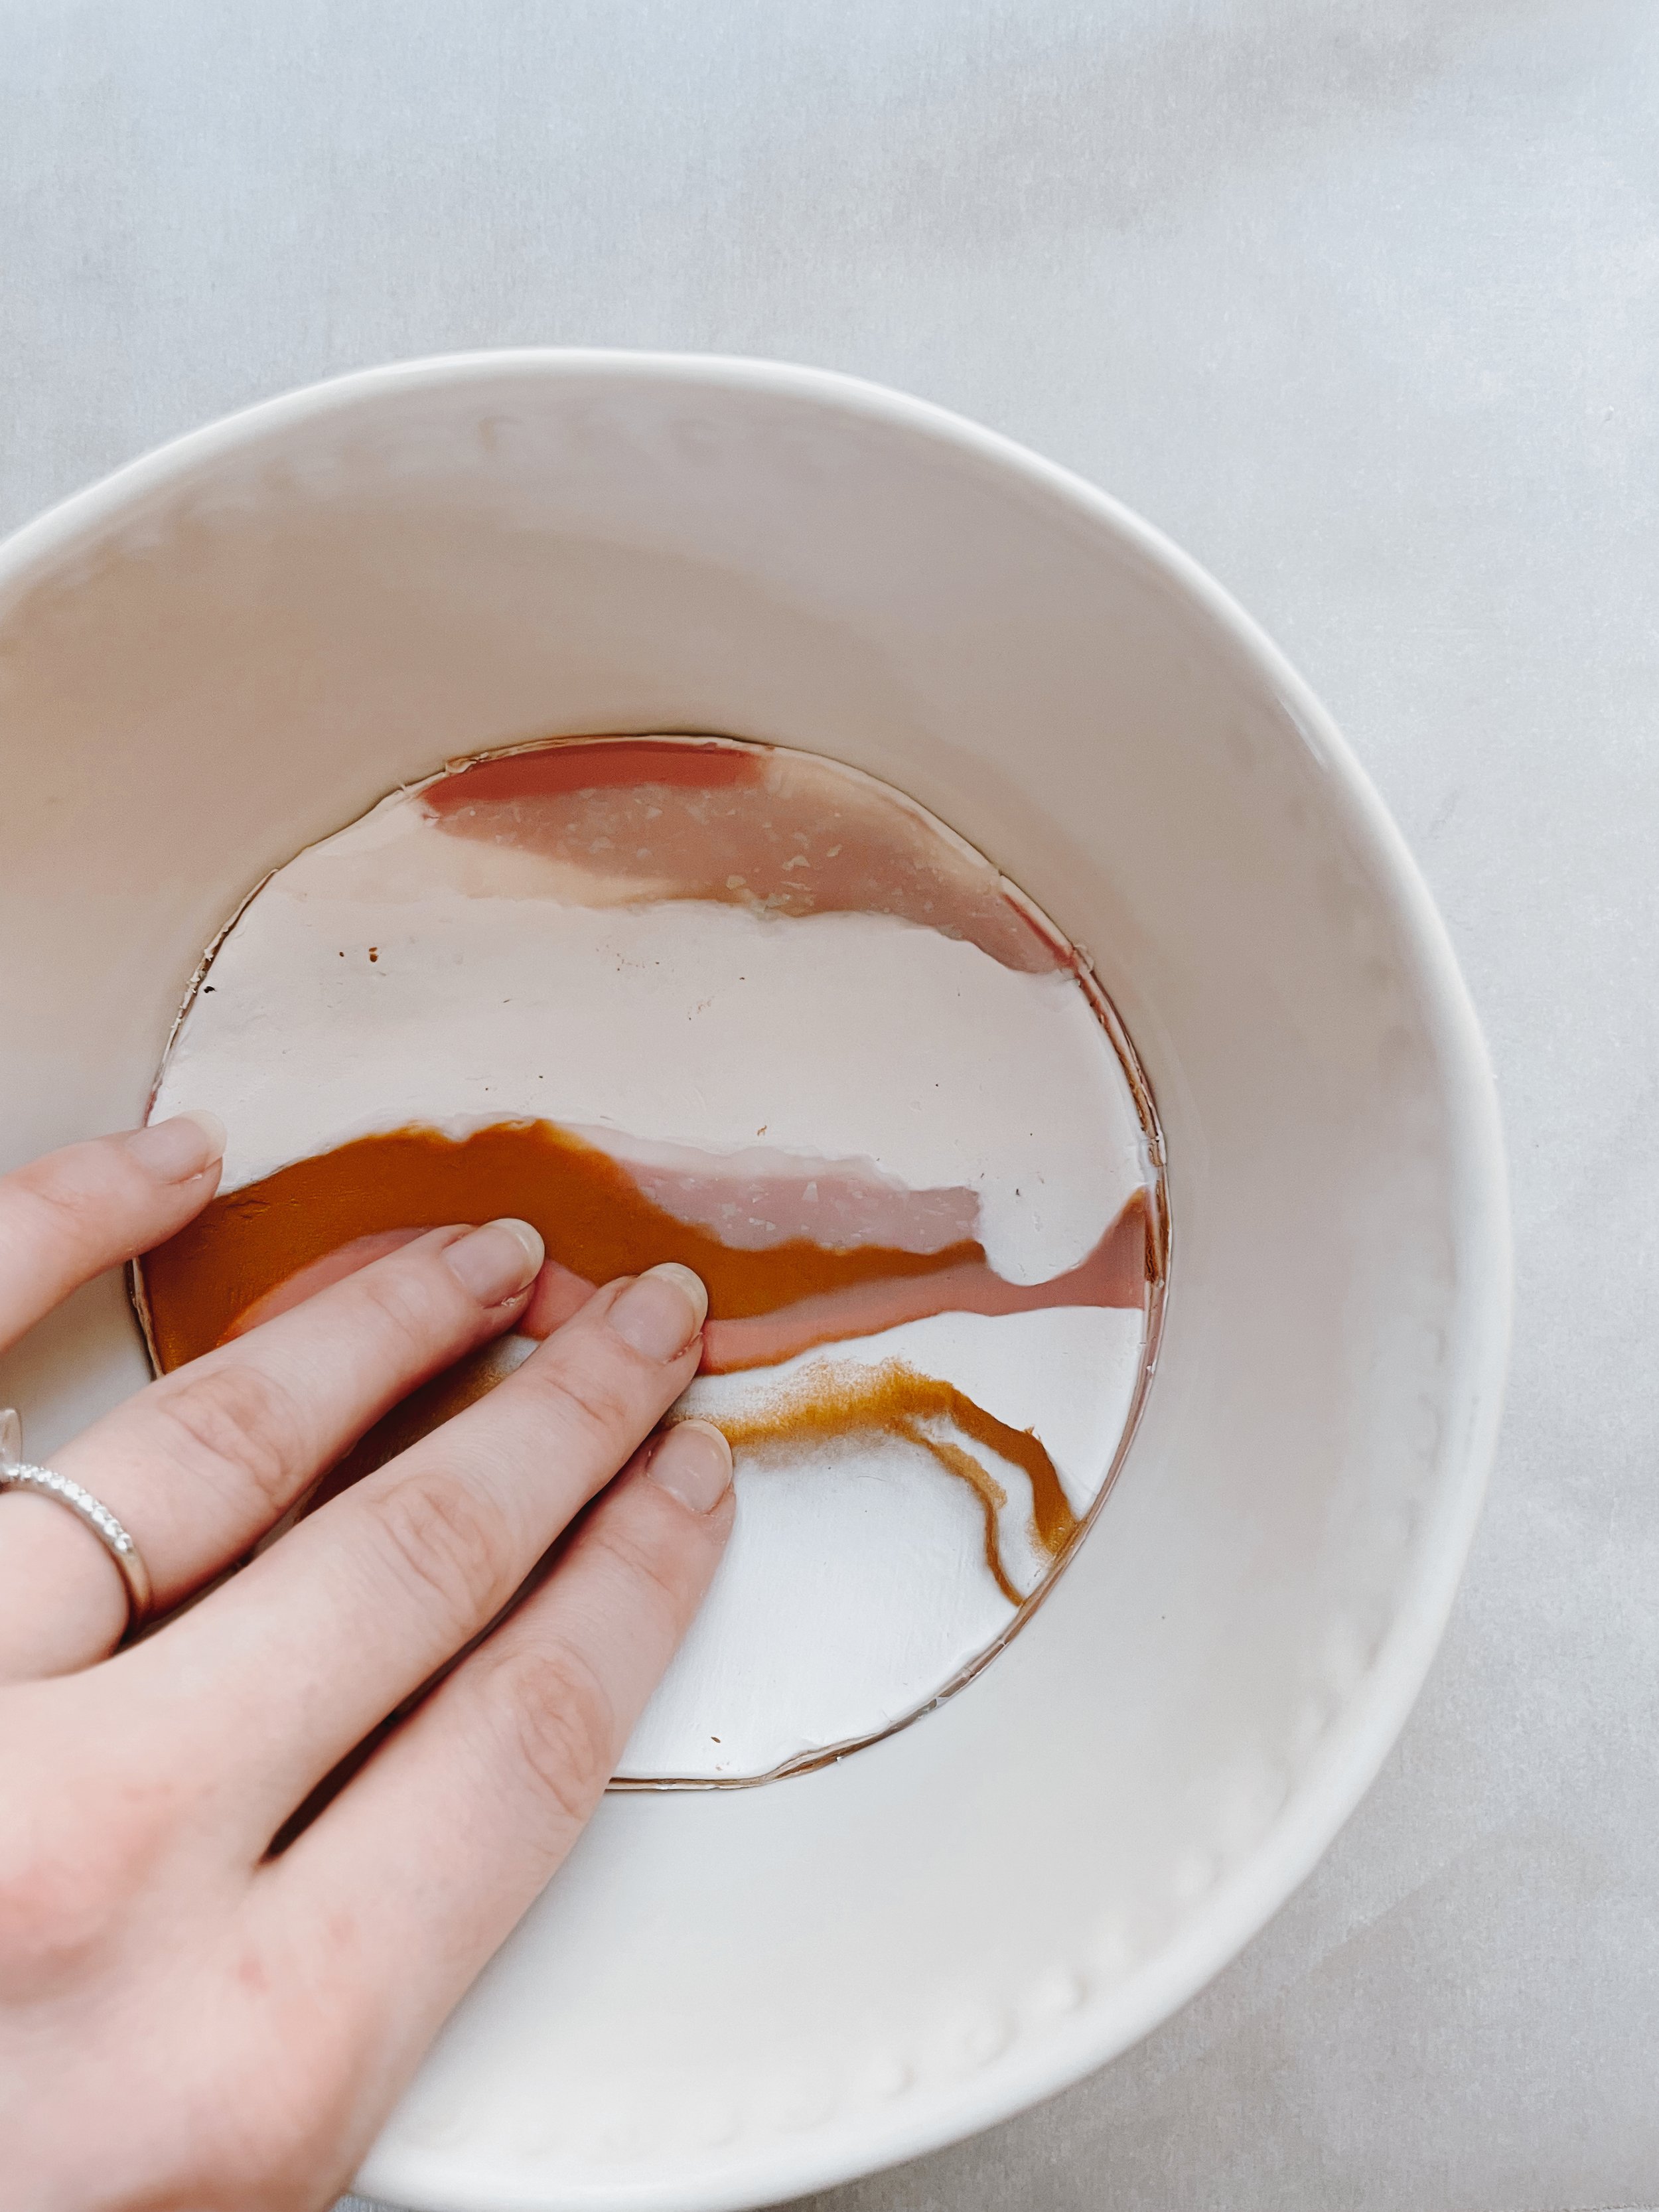
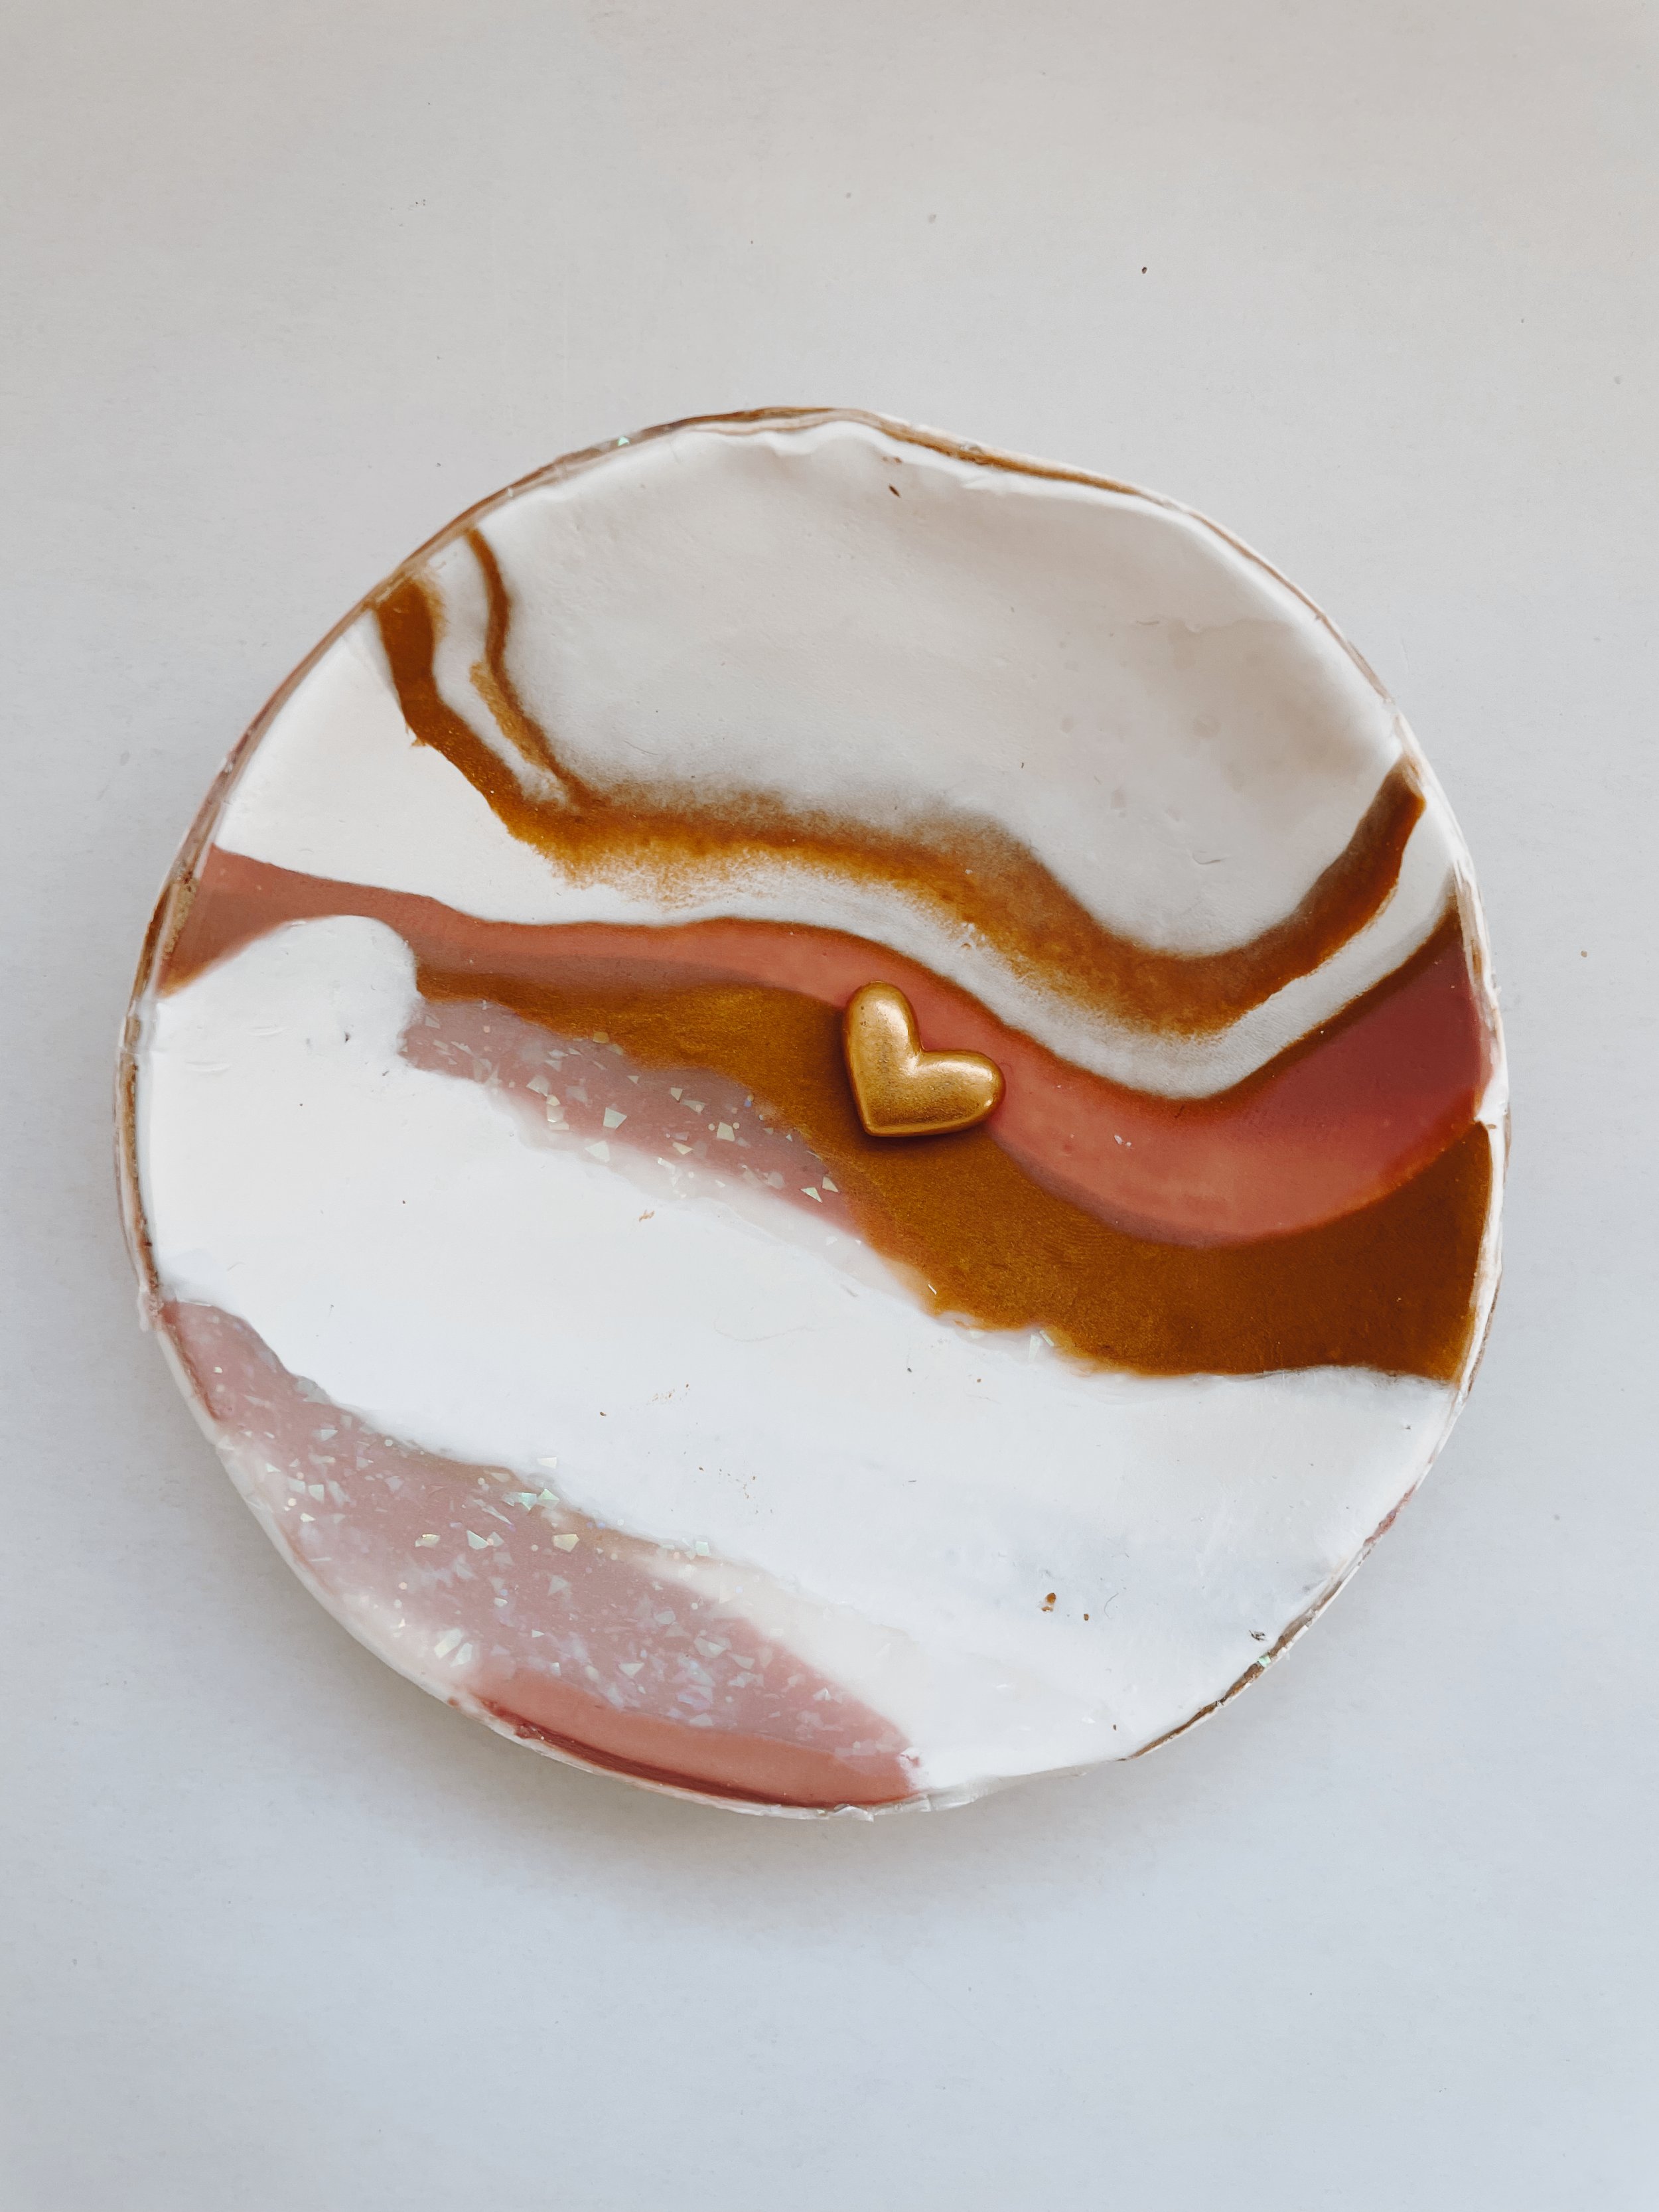
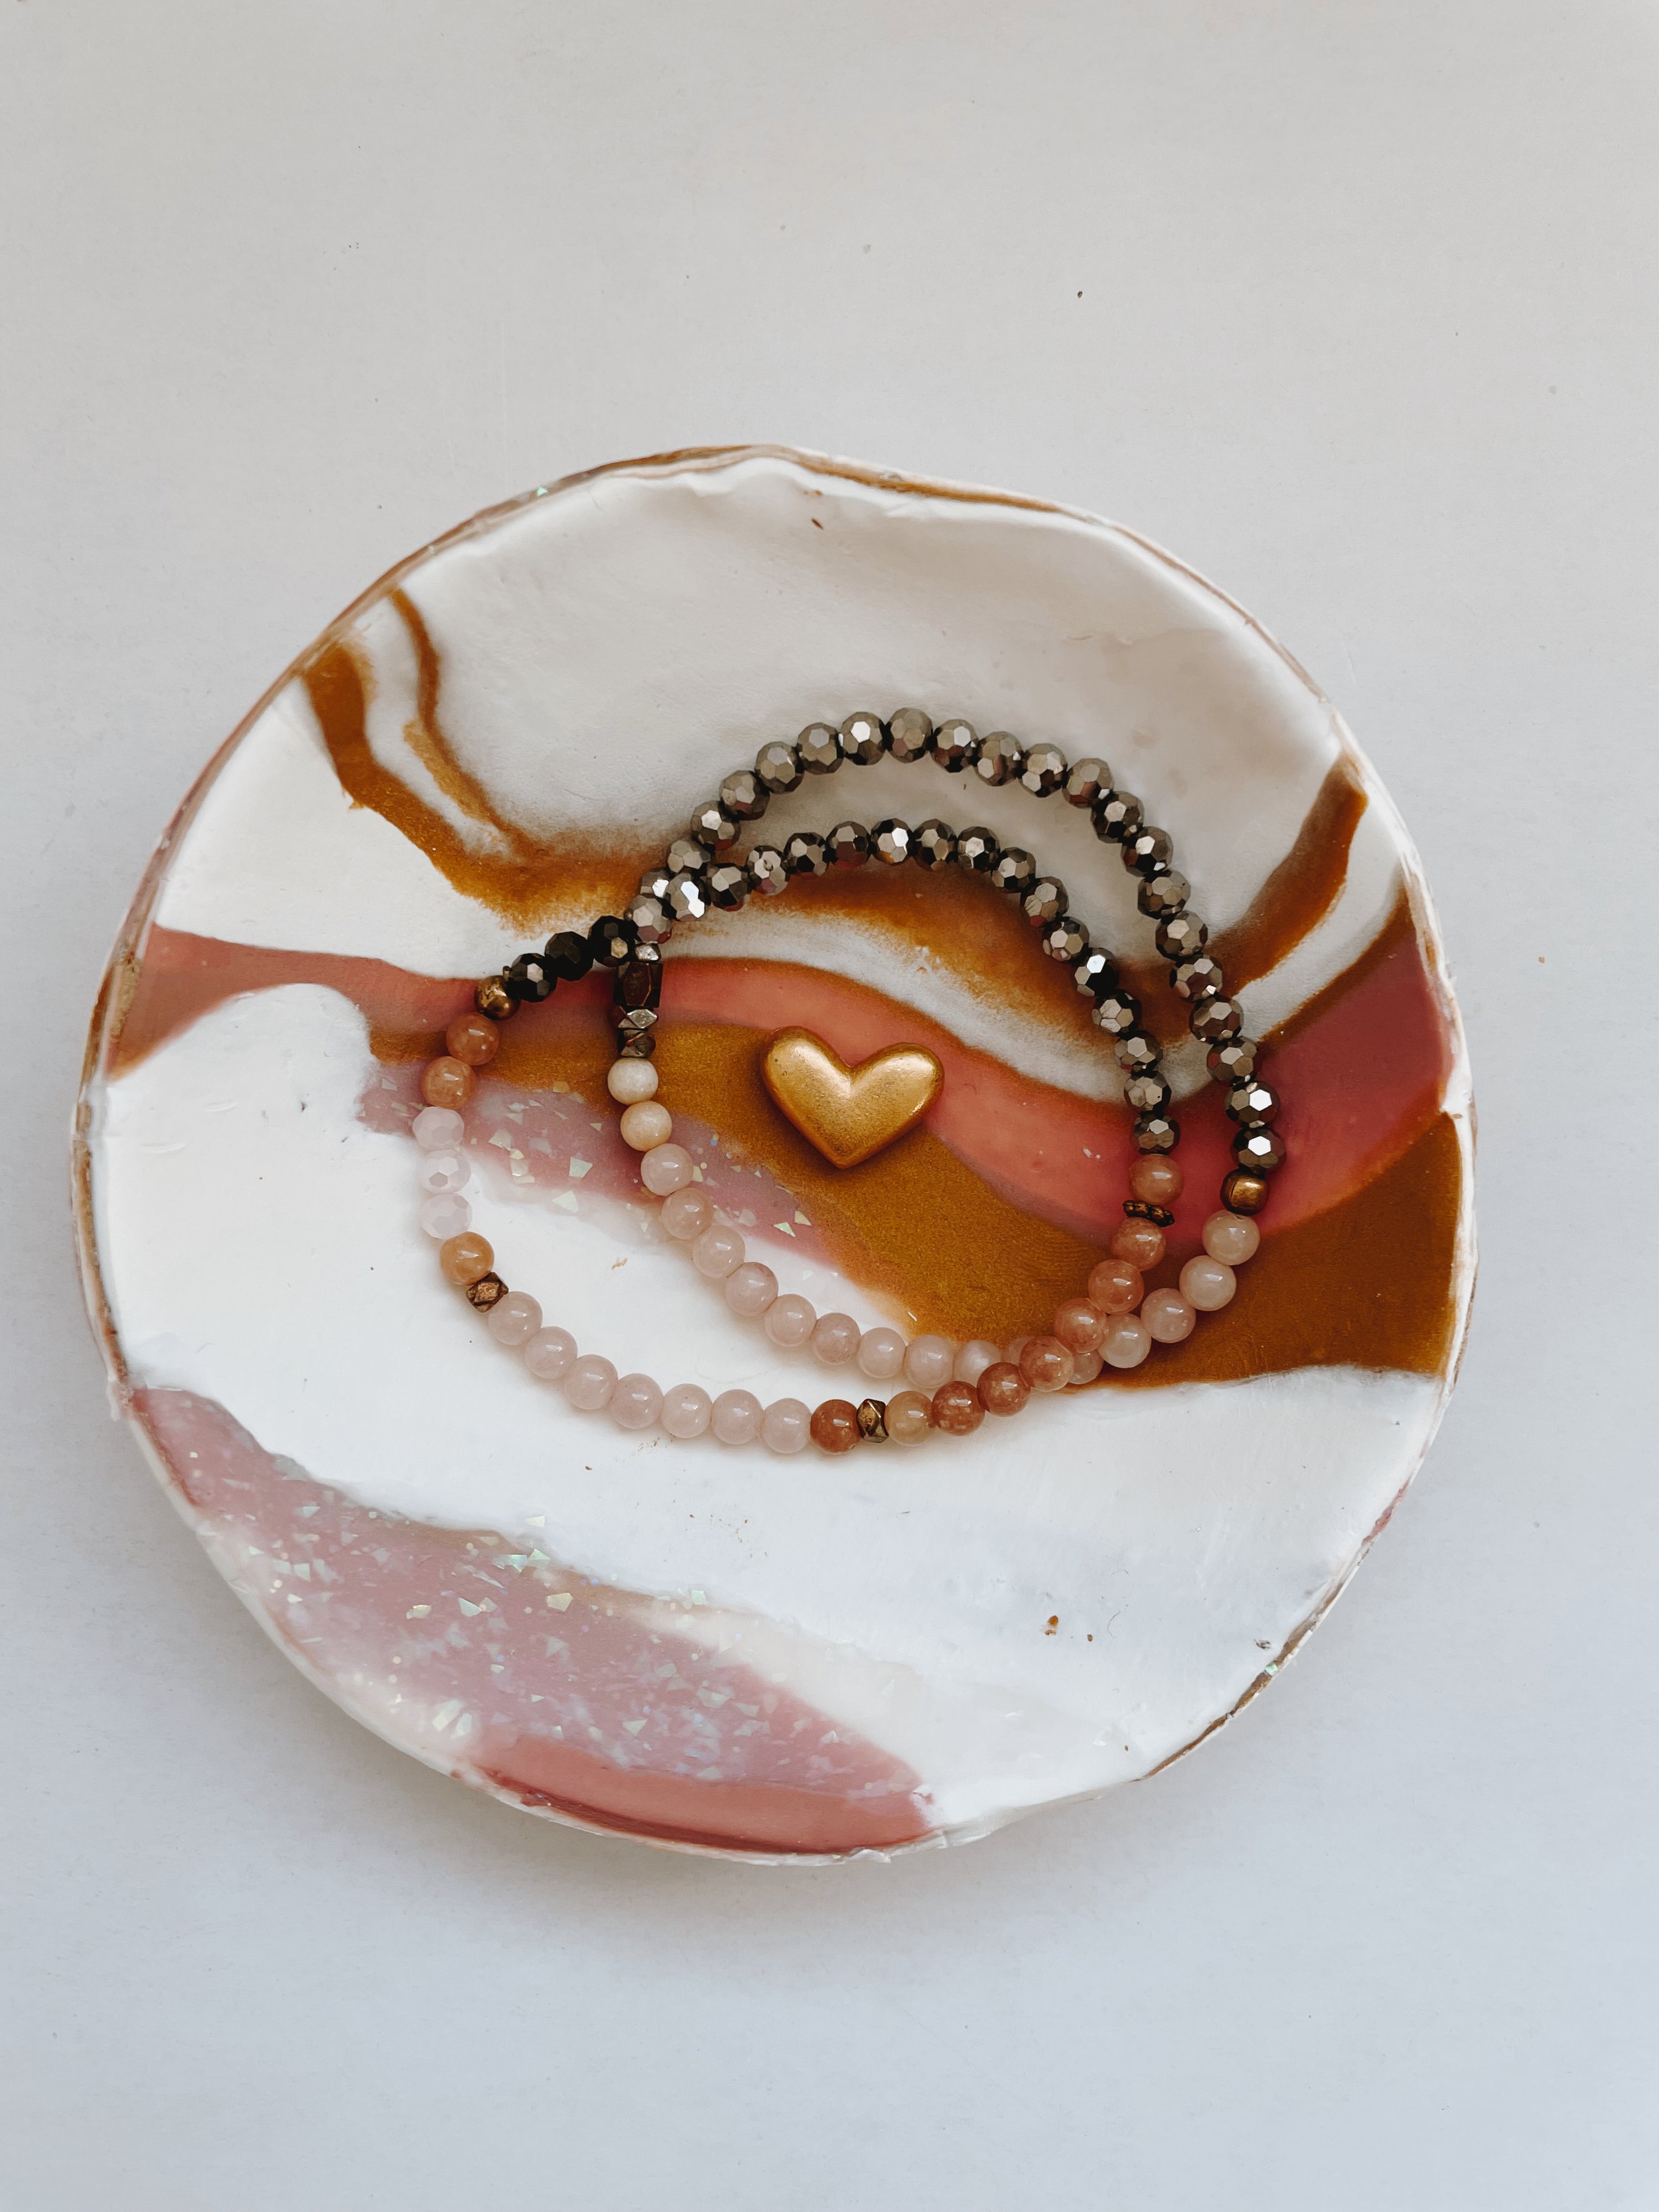
We all know someone who makes crafting look flawless. Claire is THAT person. Everything she touches turns into a Pinterest ad and we love her for it. While we can’t all be a “Claire", at Bustle we want to make creativity attainable for everyone. That’s why Claire has made it her personal goal to curate crafts that we can all partake in. Every season, she will lead us in a step-by-step guide through the latest diy trends. Whether you’re crafting with kiddos or by yourself with a glass of wine, we hope you enjoy this pretty piece of mindfulness.
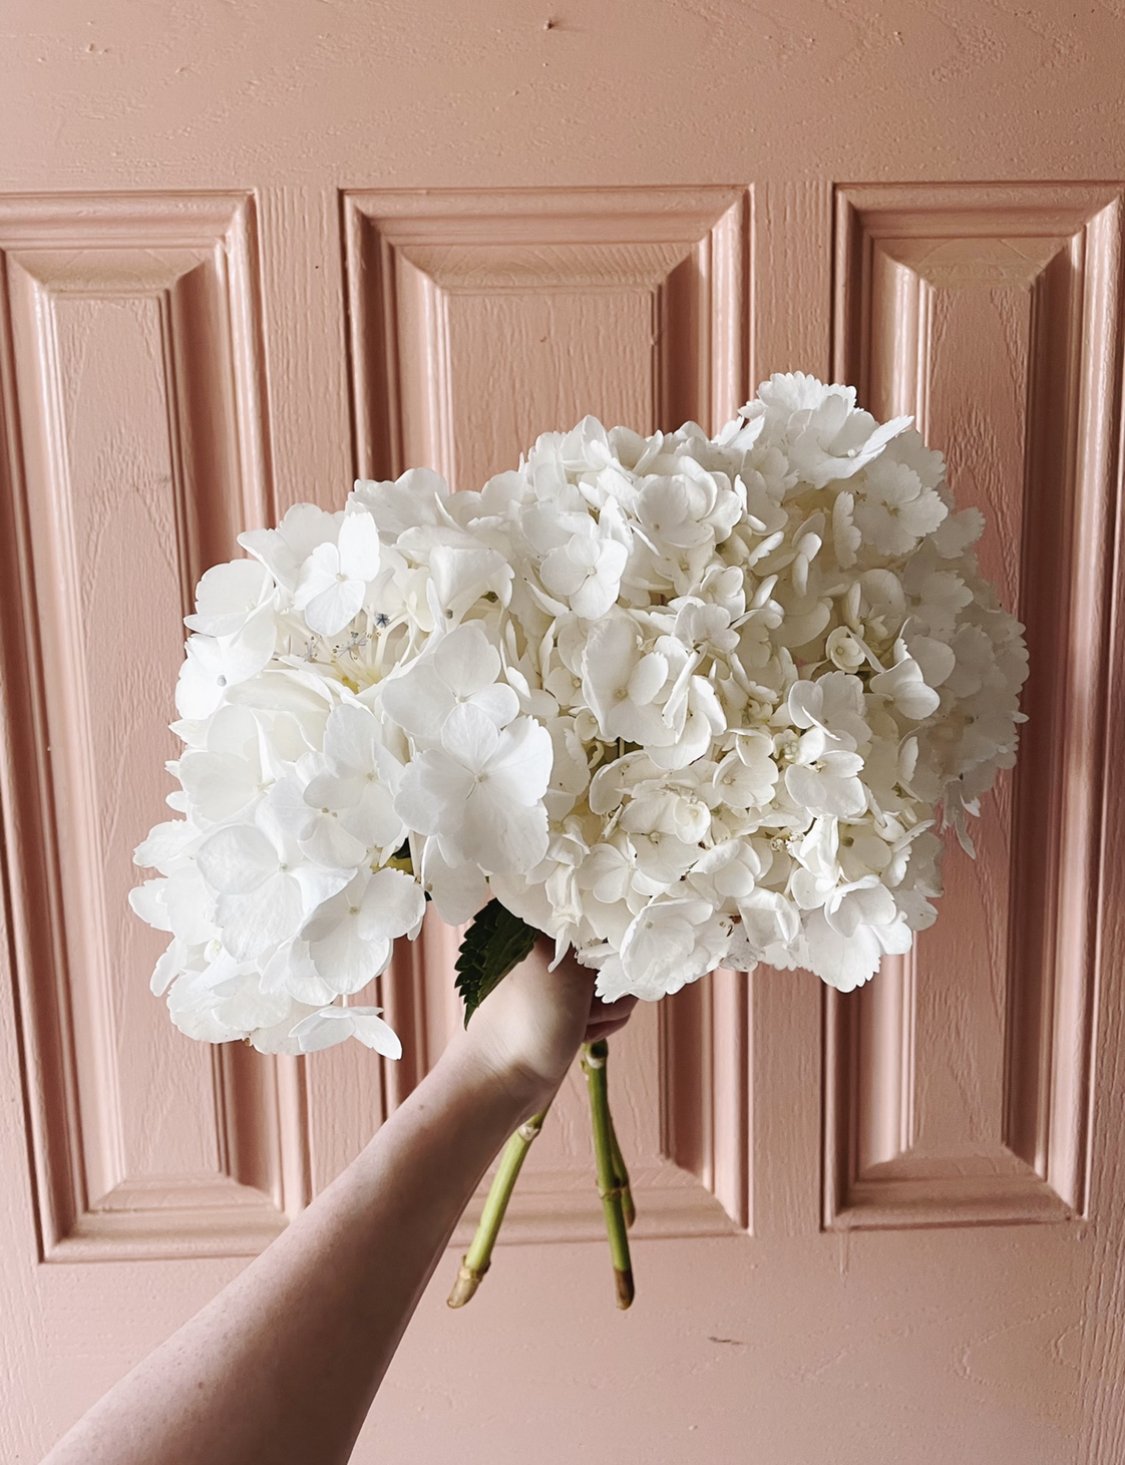
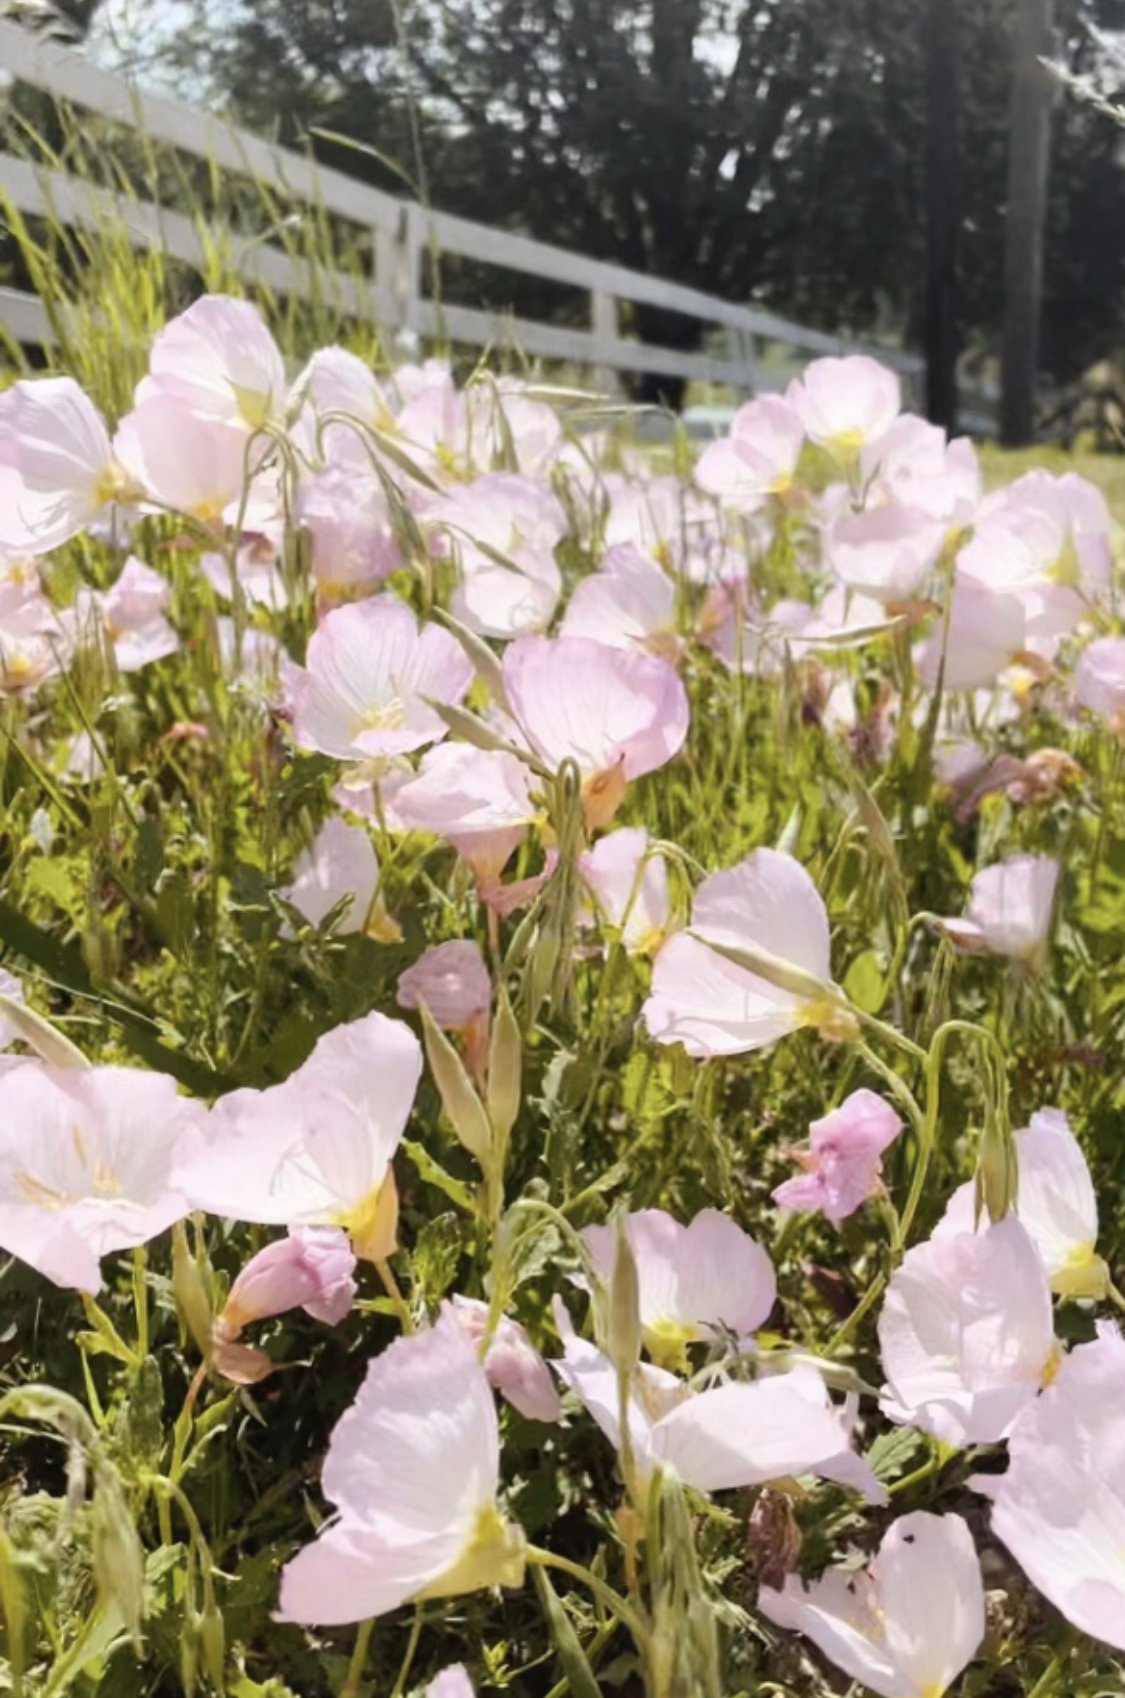
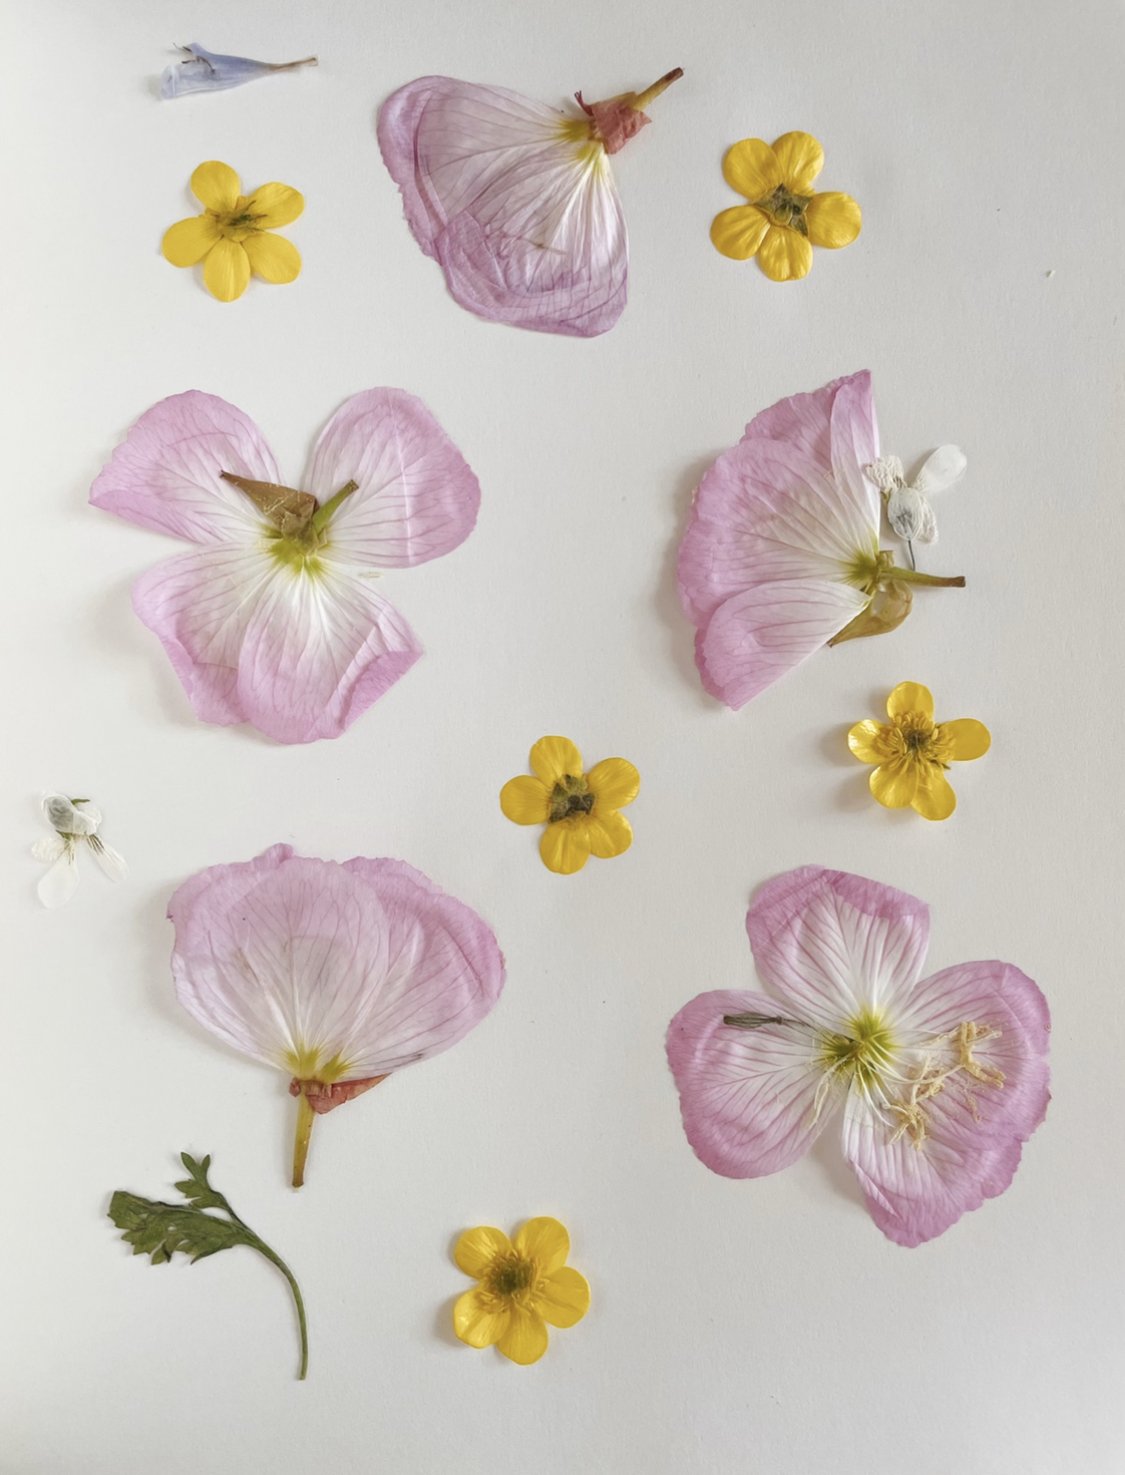
Step 1.) Choose your blooms — visit your local garden shop, flower truck, grocery store or even your yard! The best flowers to use are ones that are not too thick and can be flattened easily. Hydrangeas, violets, and other delicate flowers are a great choice.

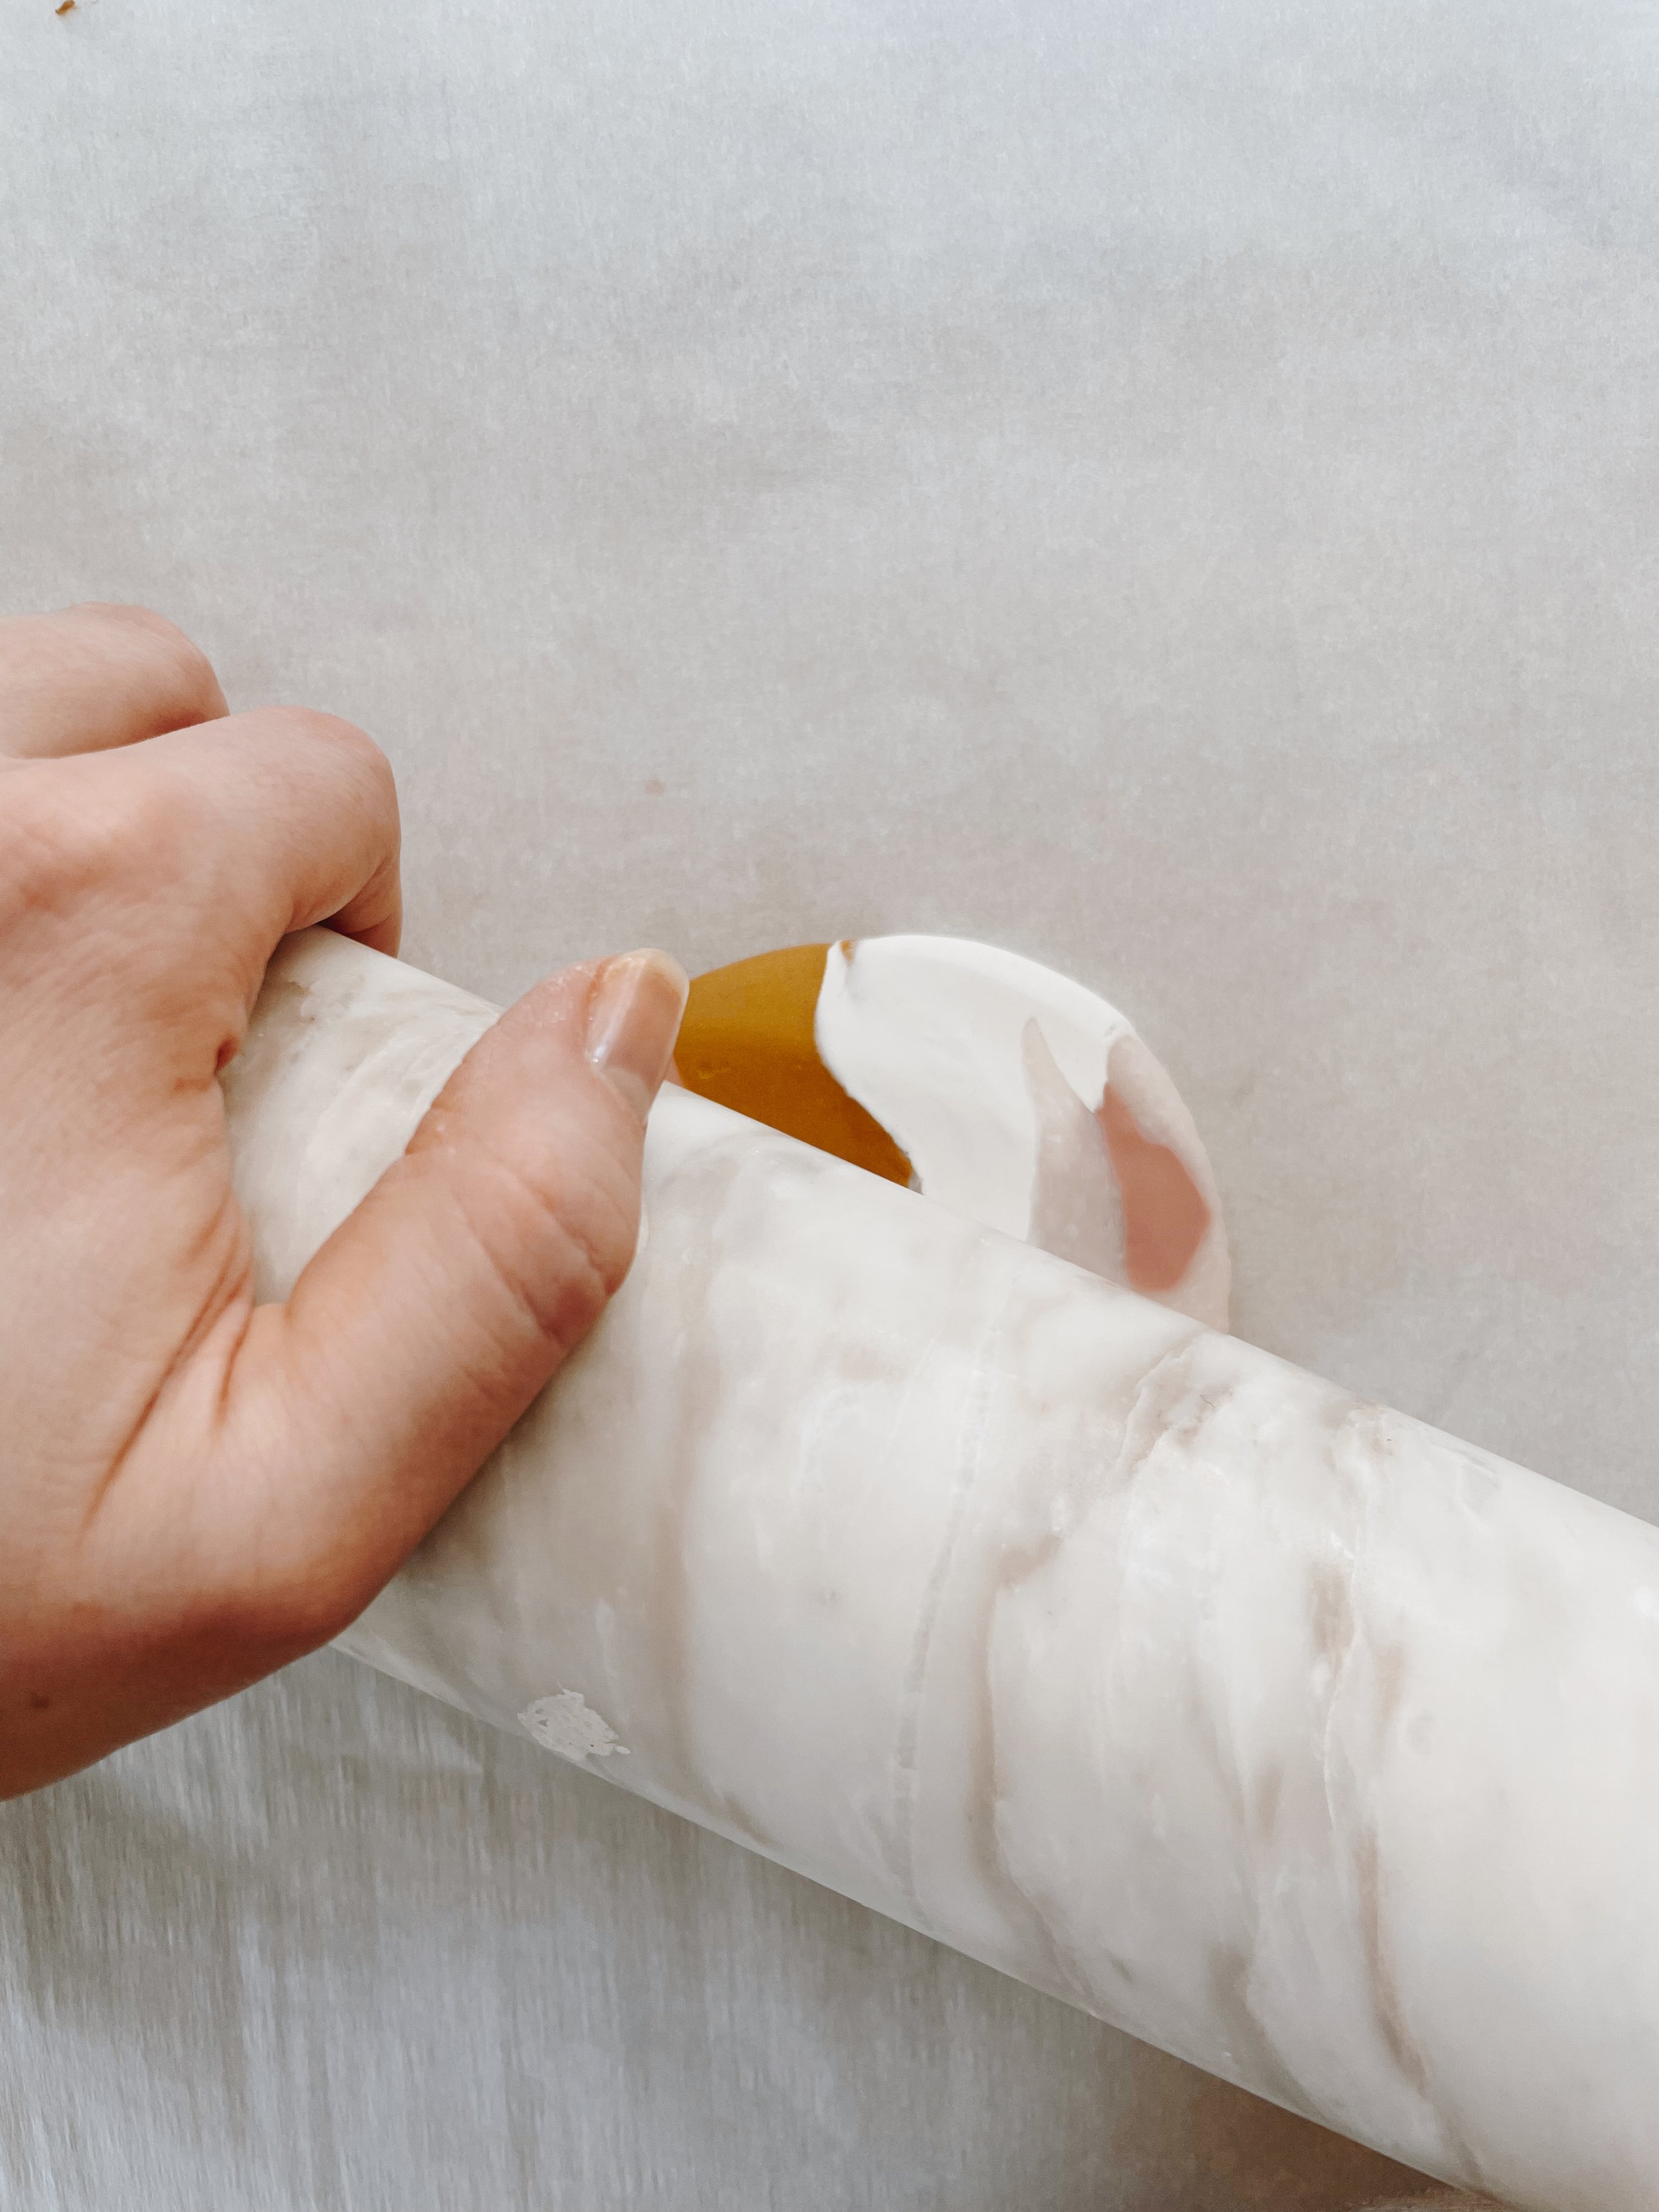
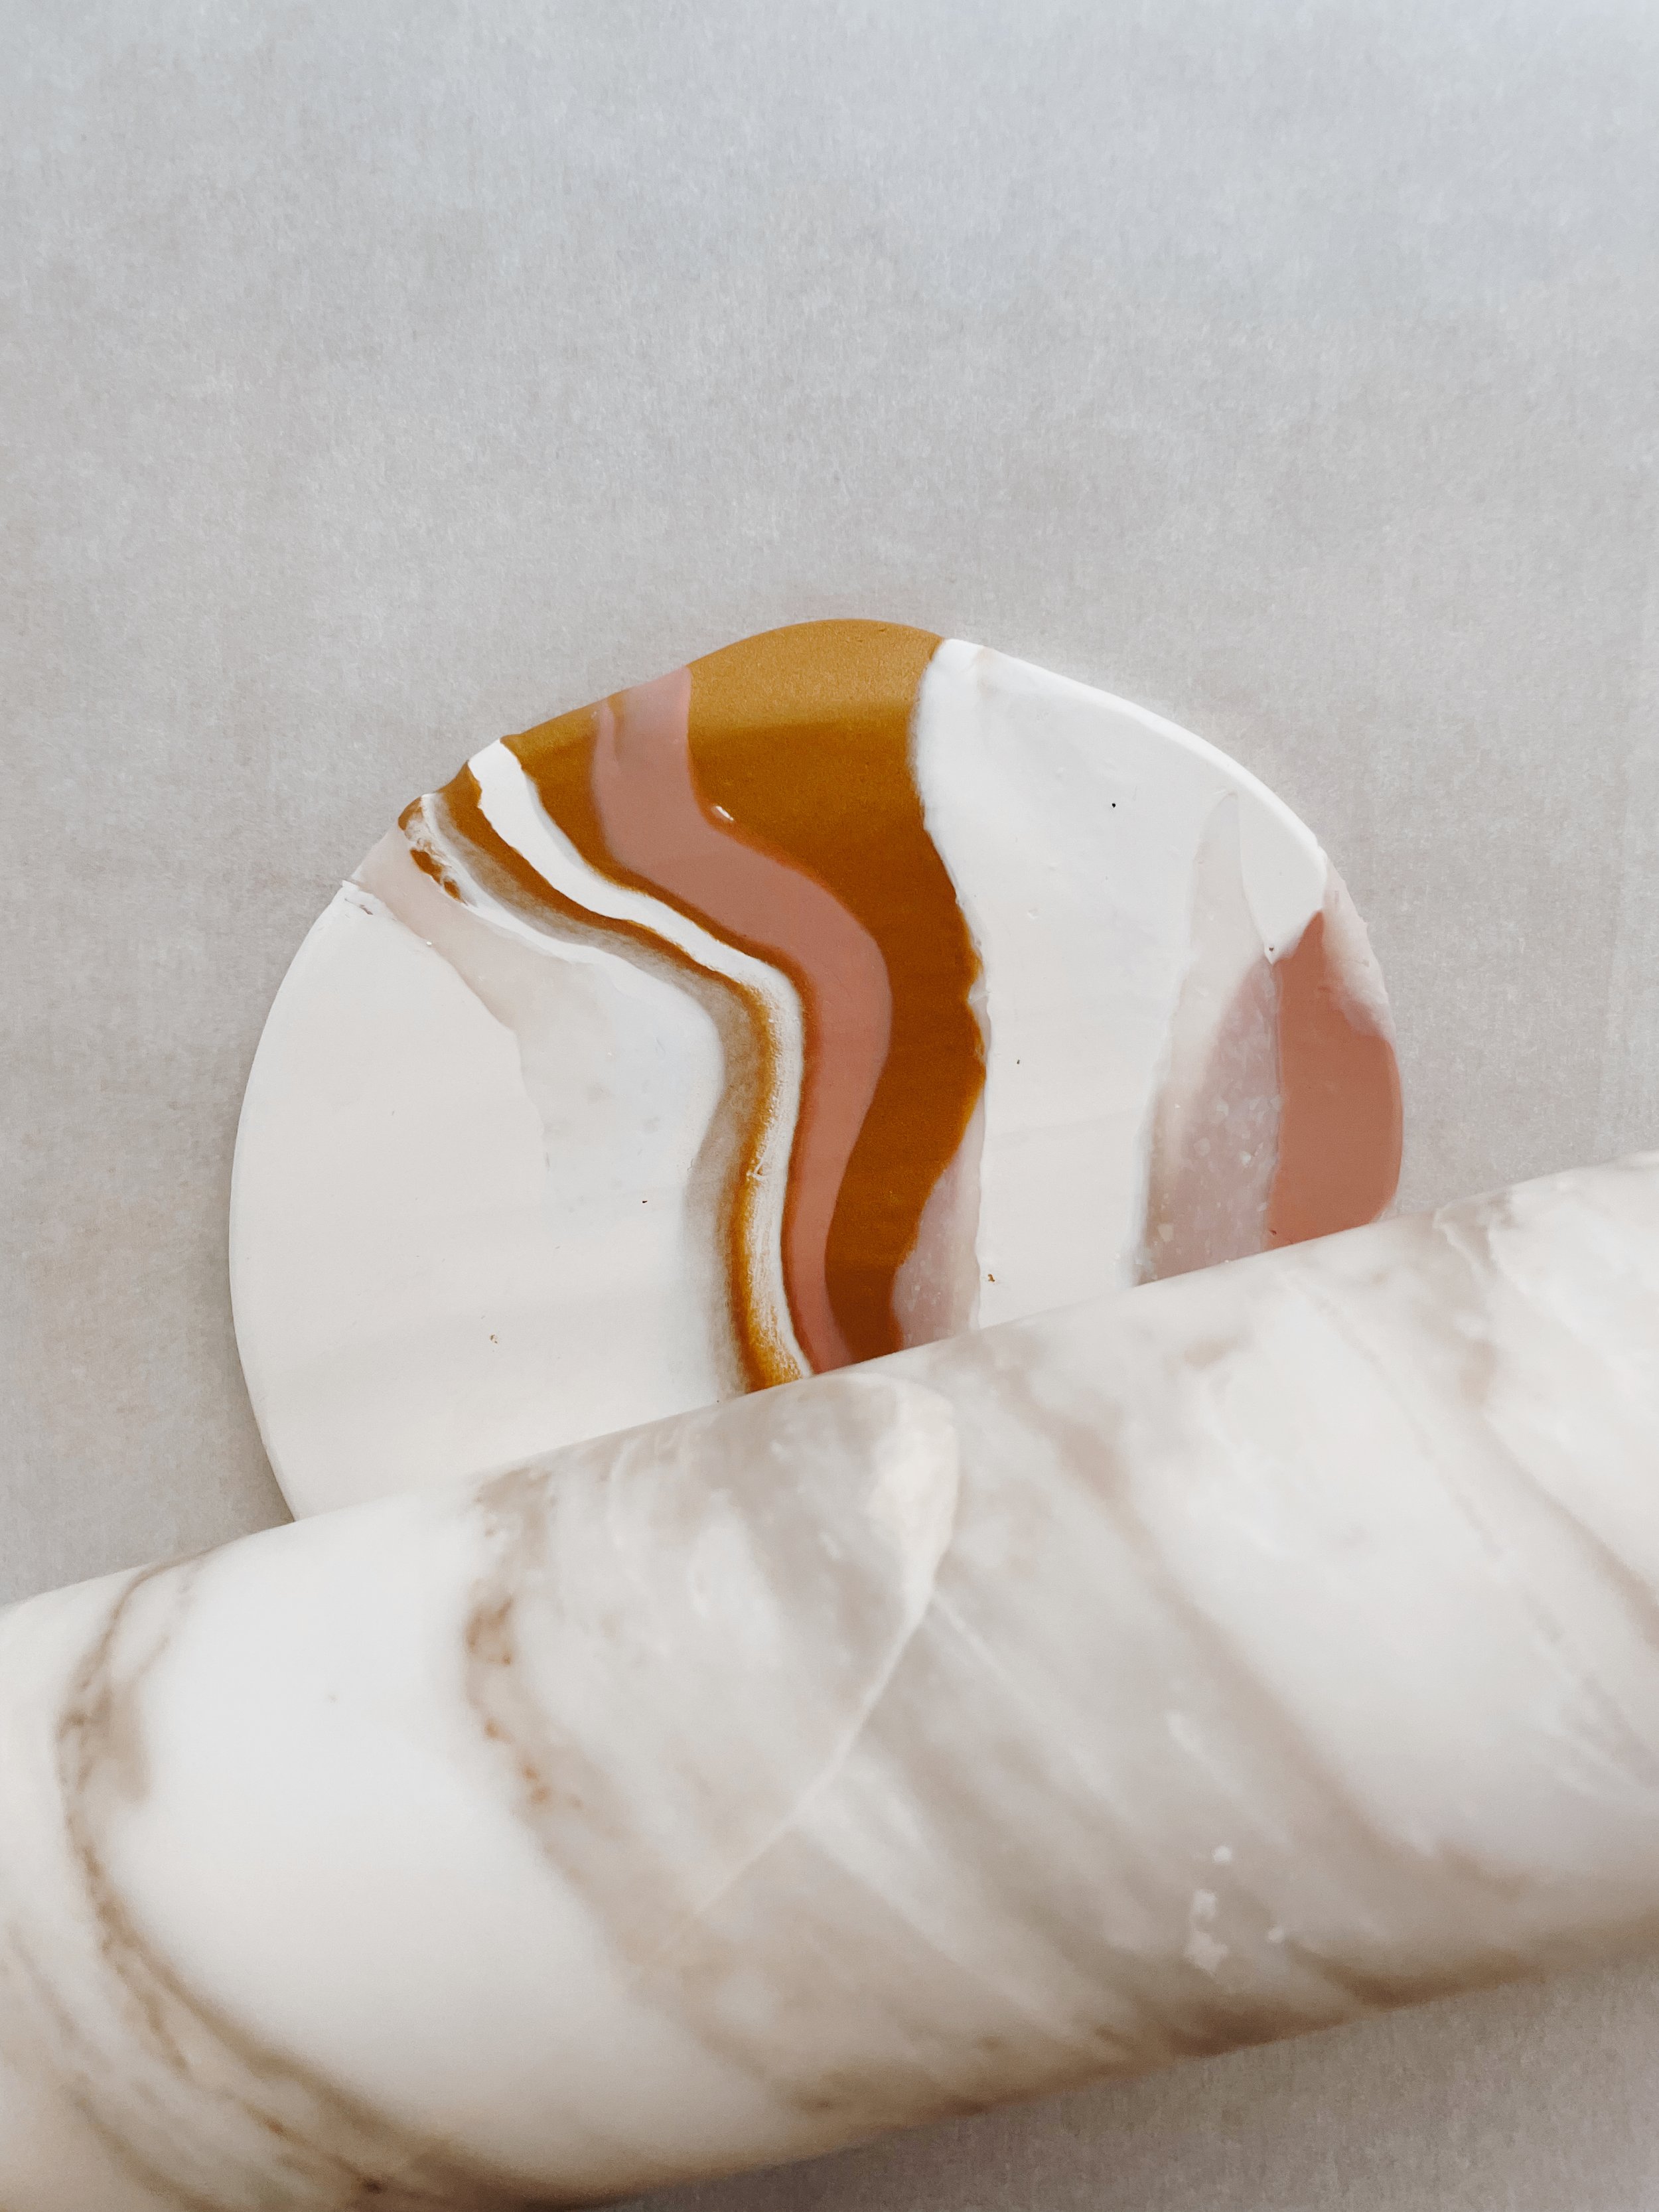
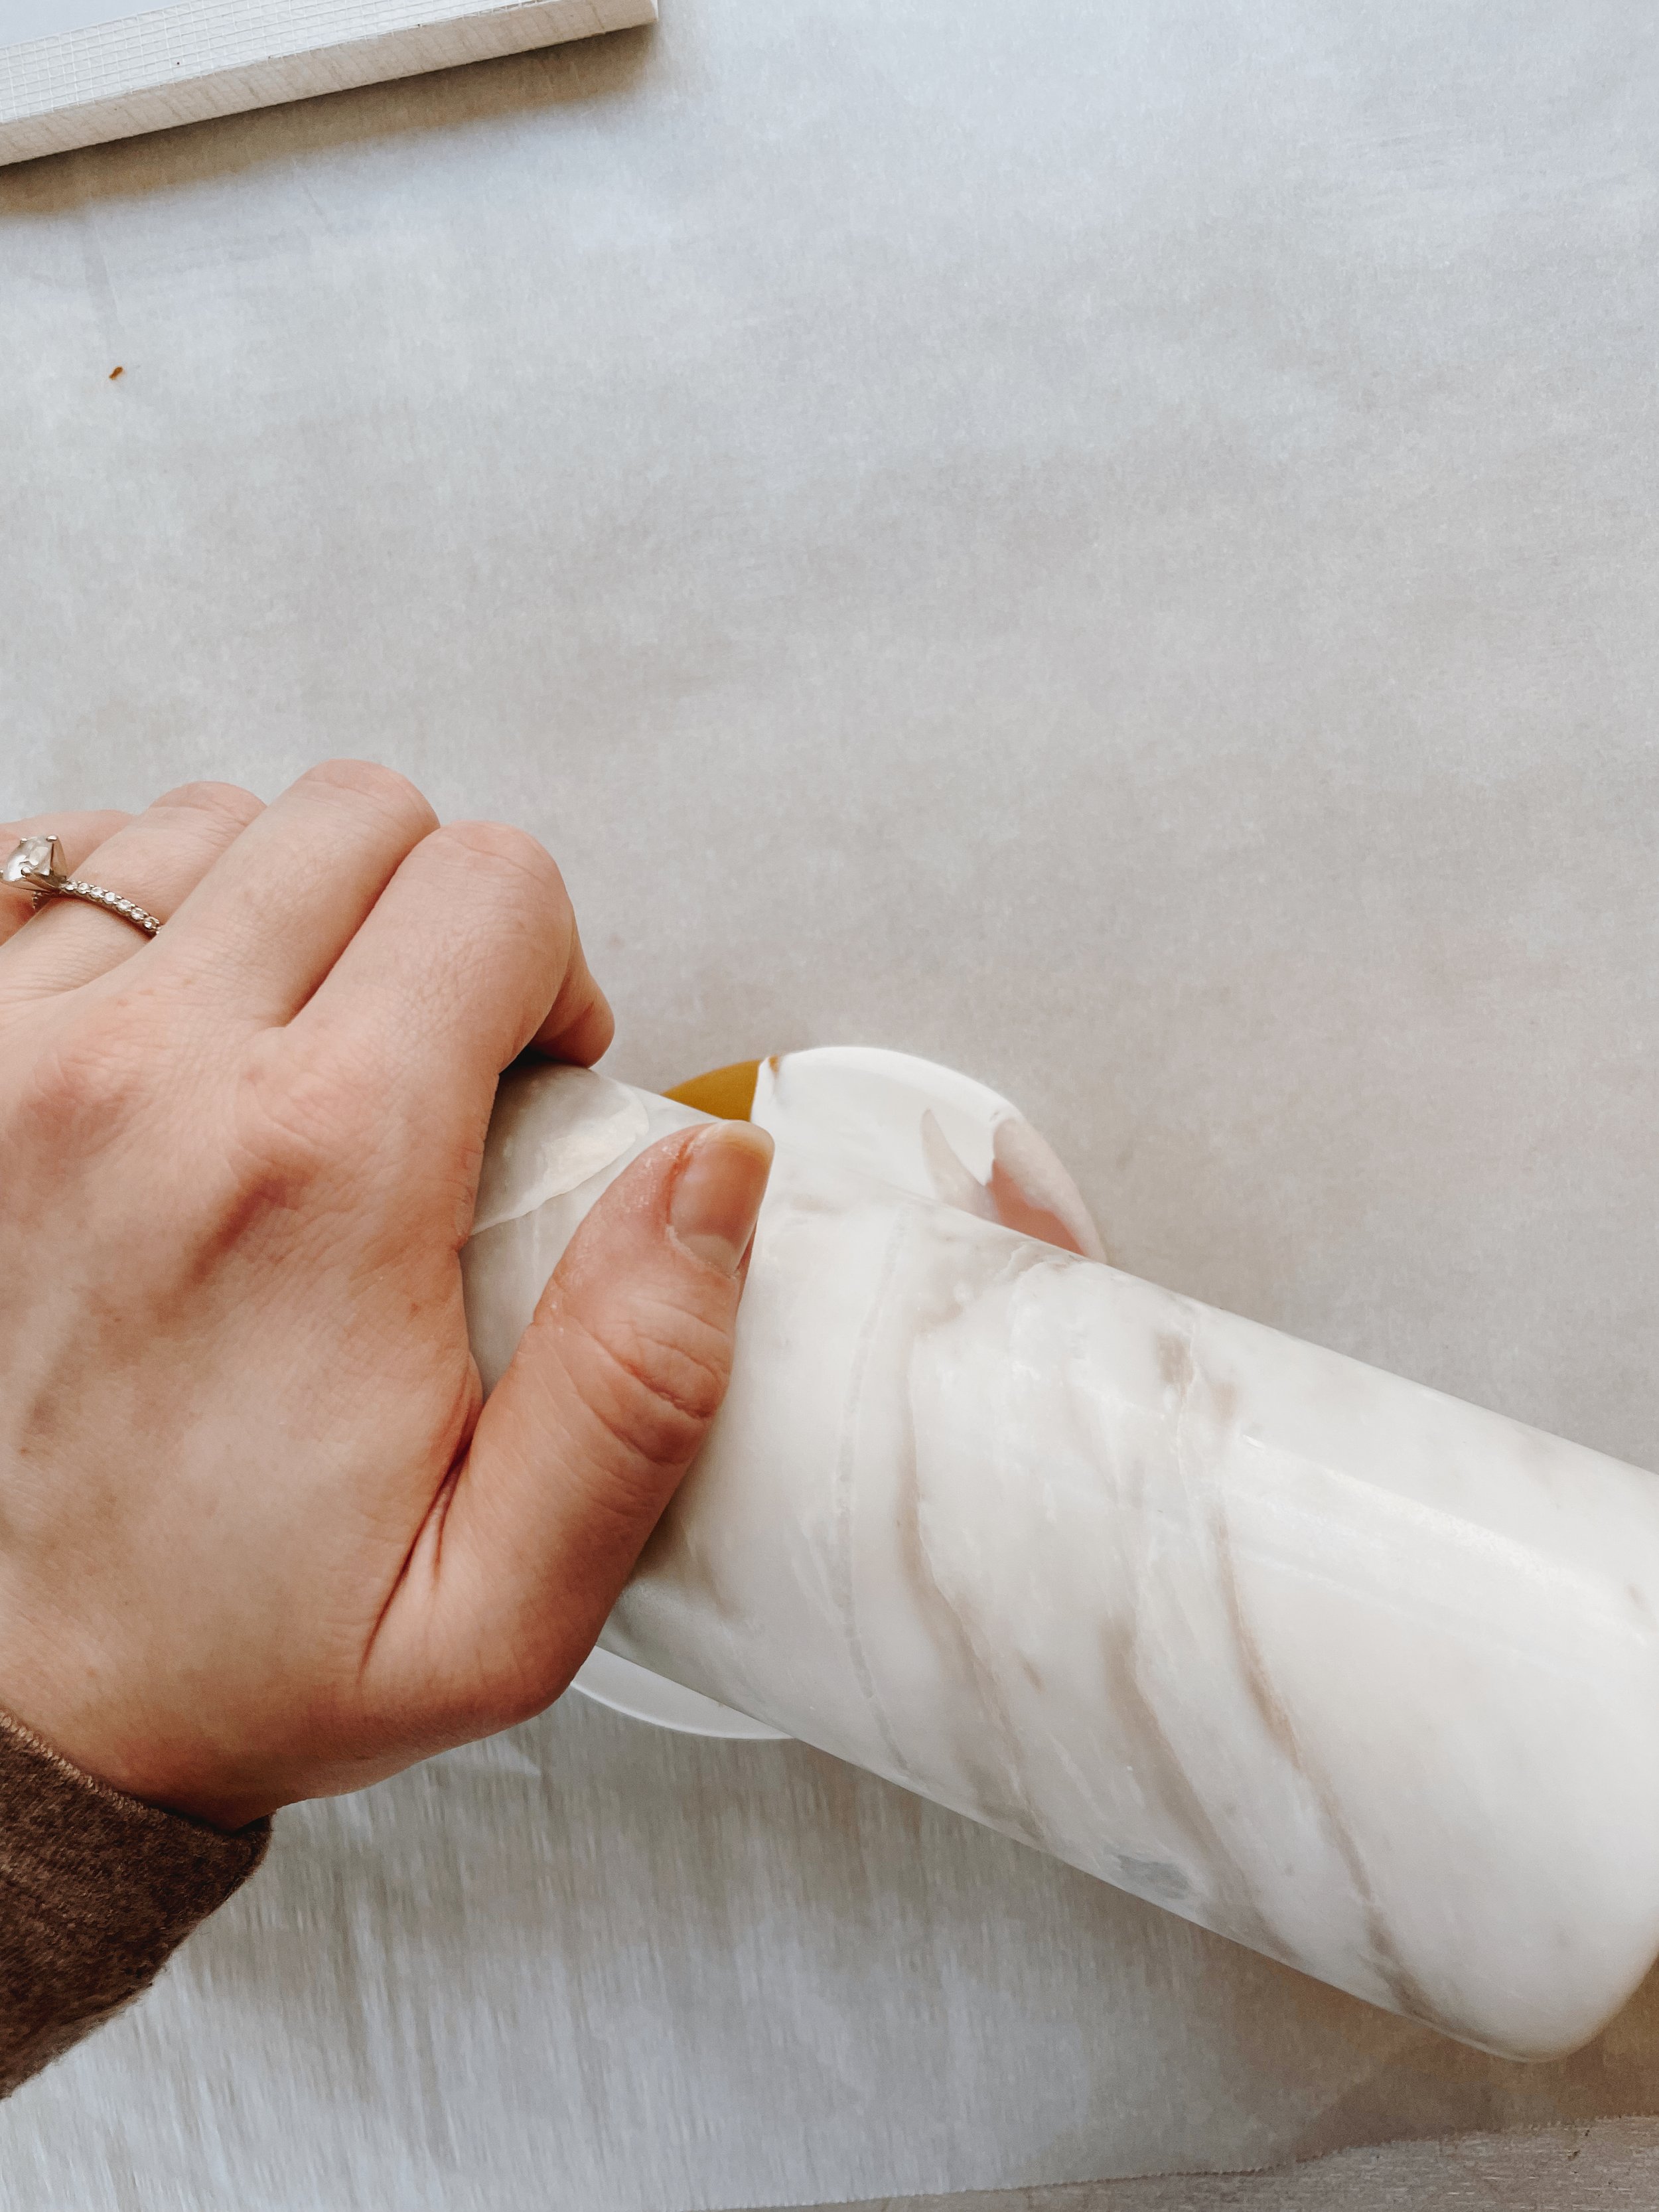
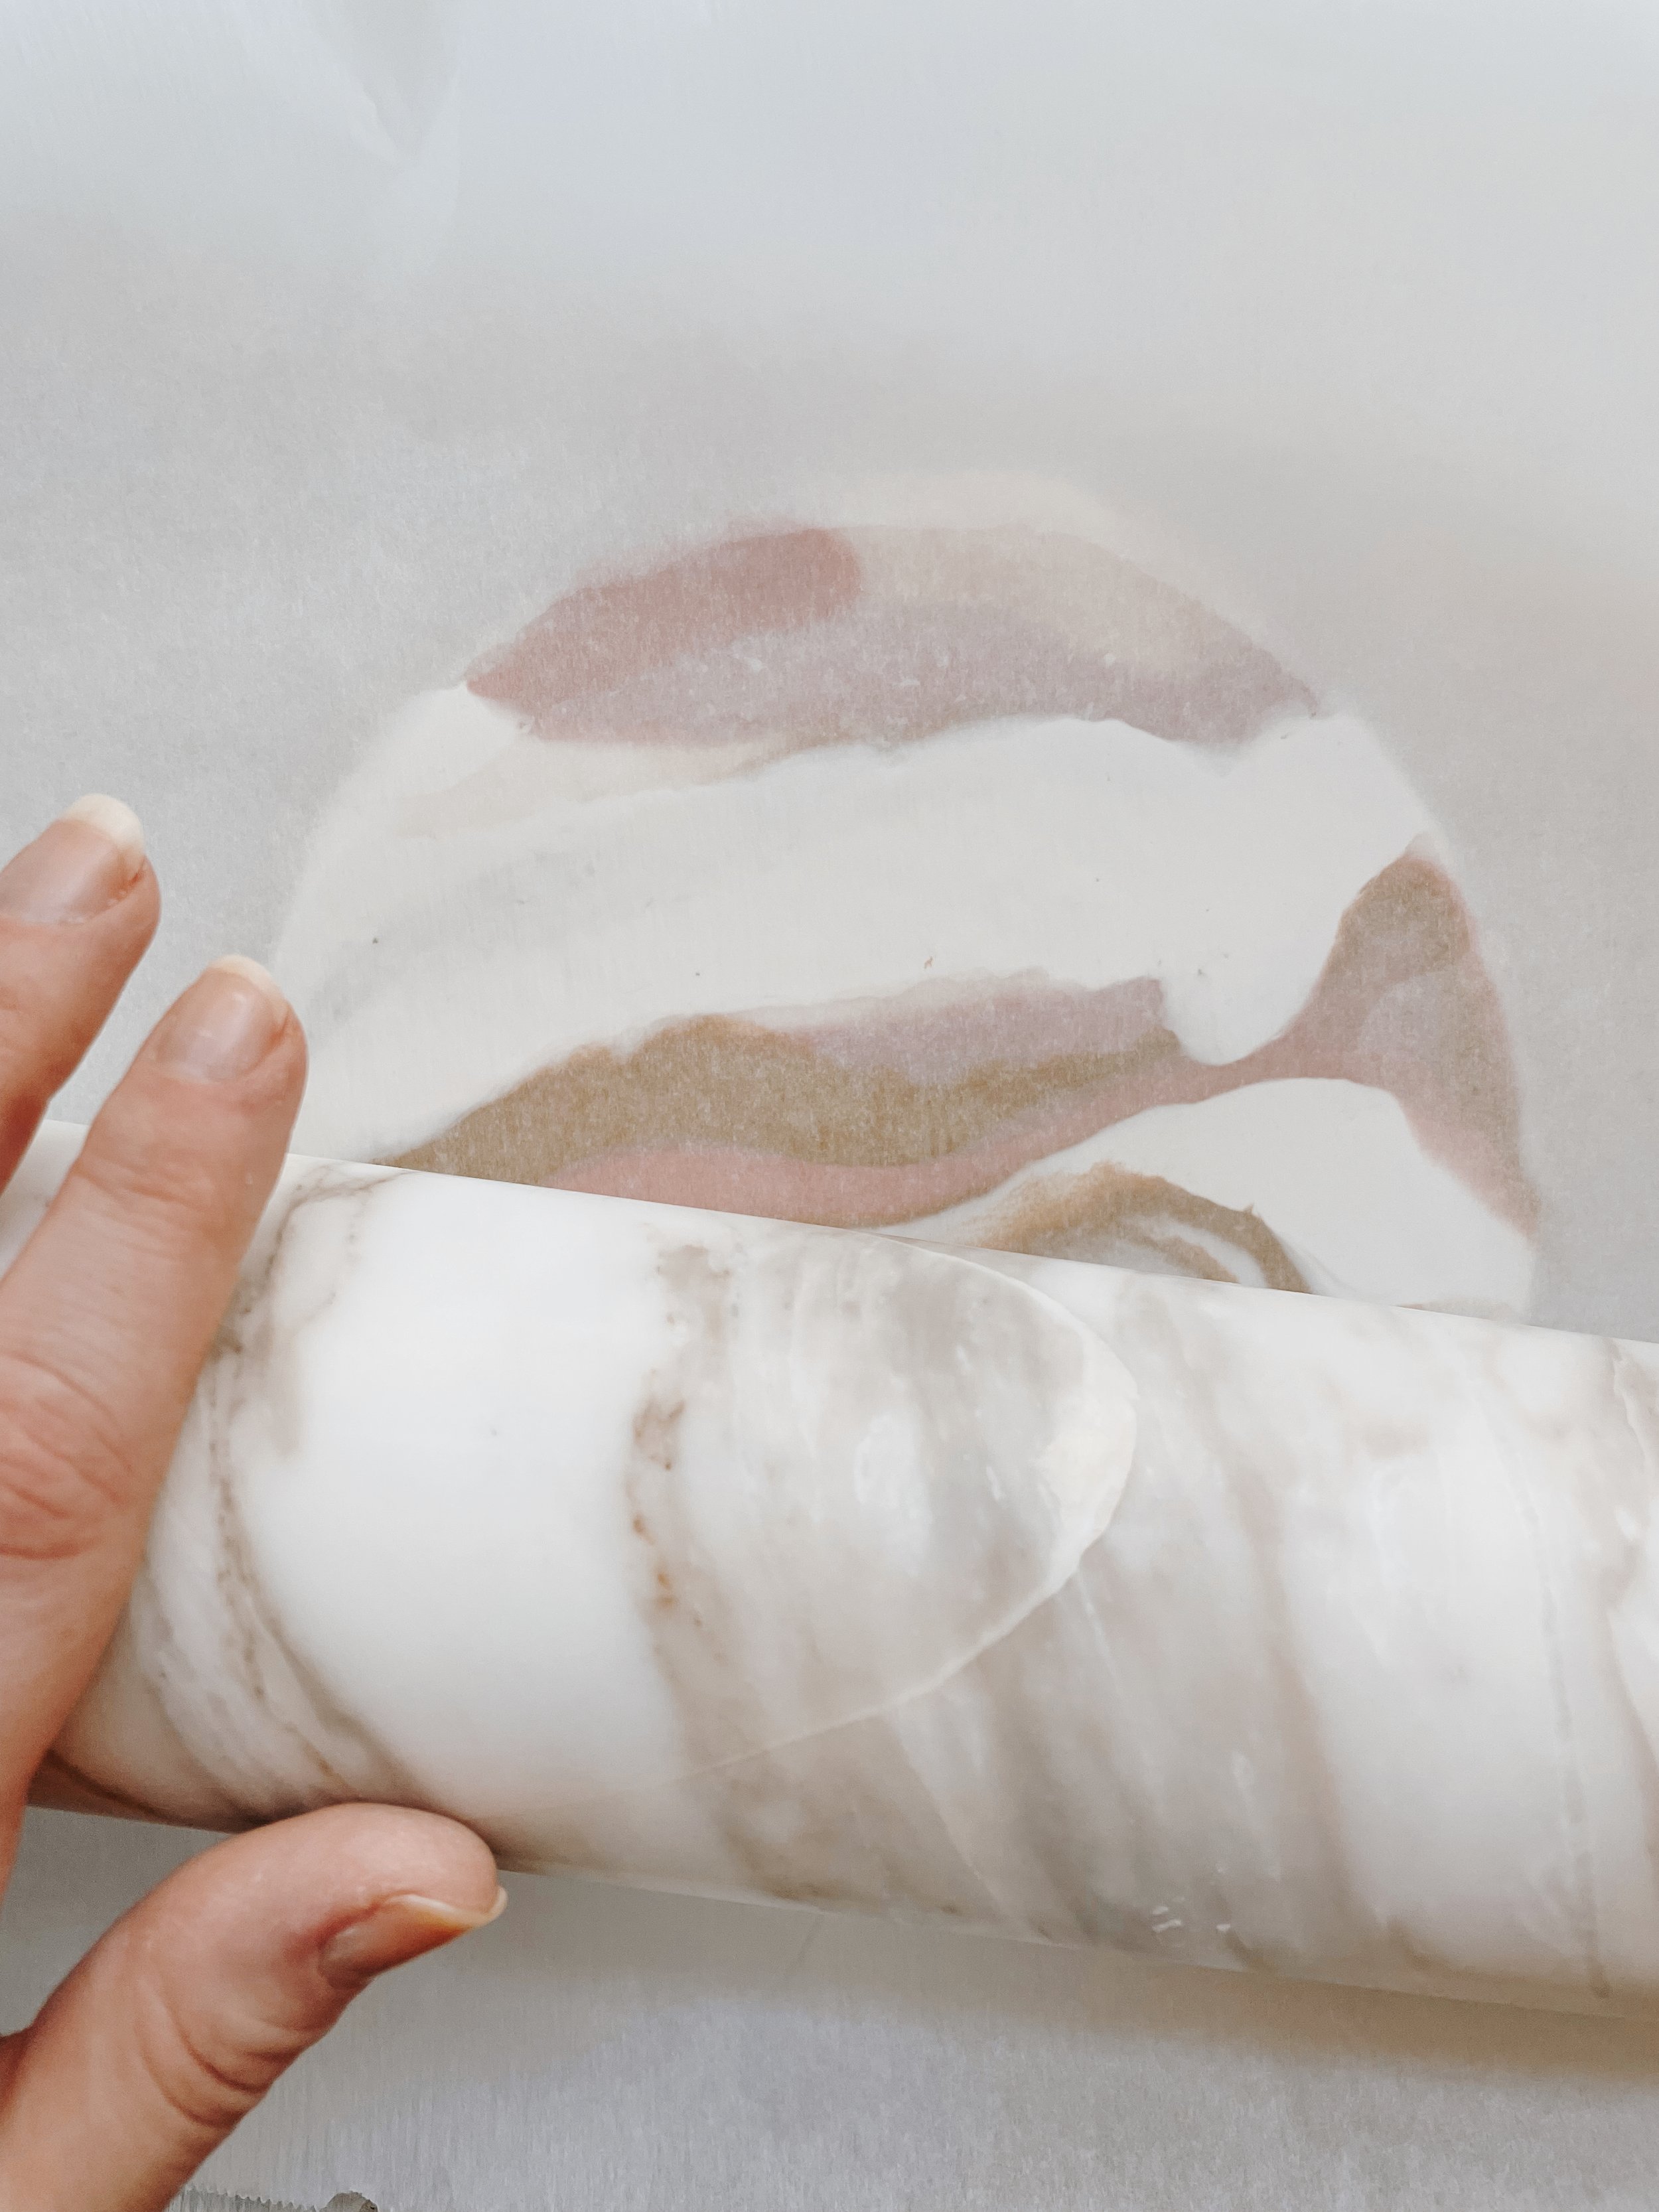
Step 2.) Flatten your flowers! Use a flower press, wooden blocks, or heavy books to get your flowers nice and flat (and dry!).
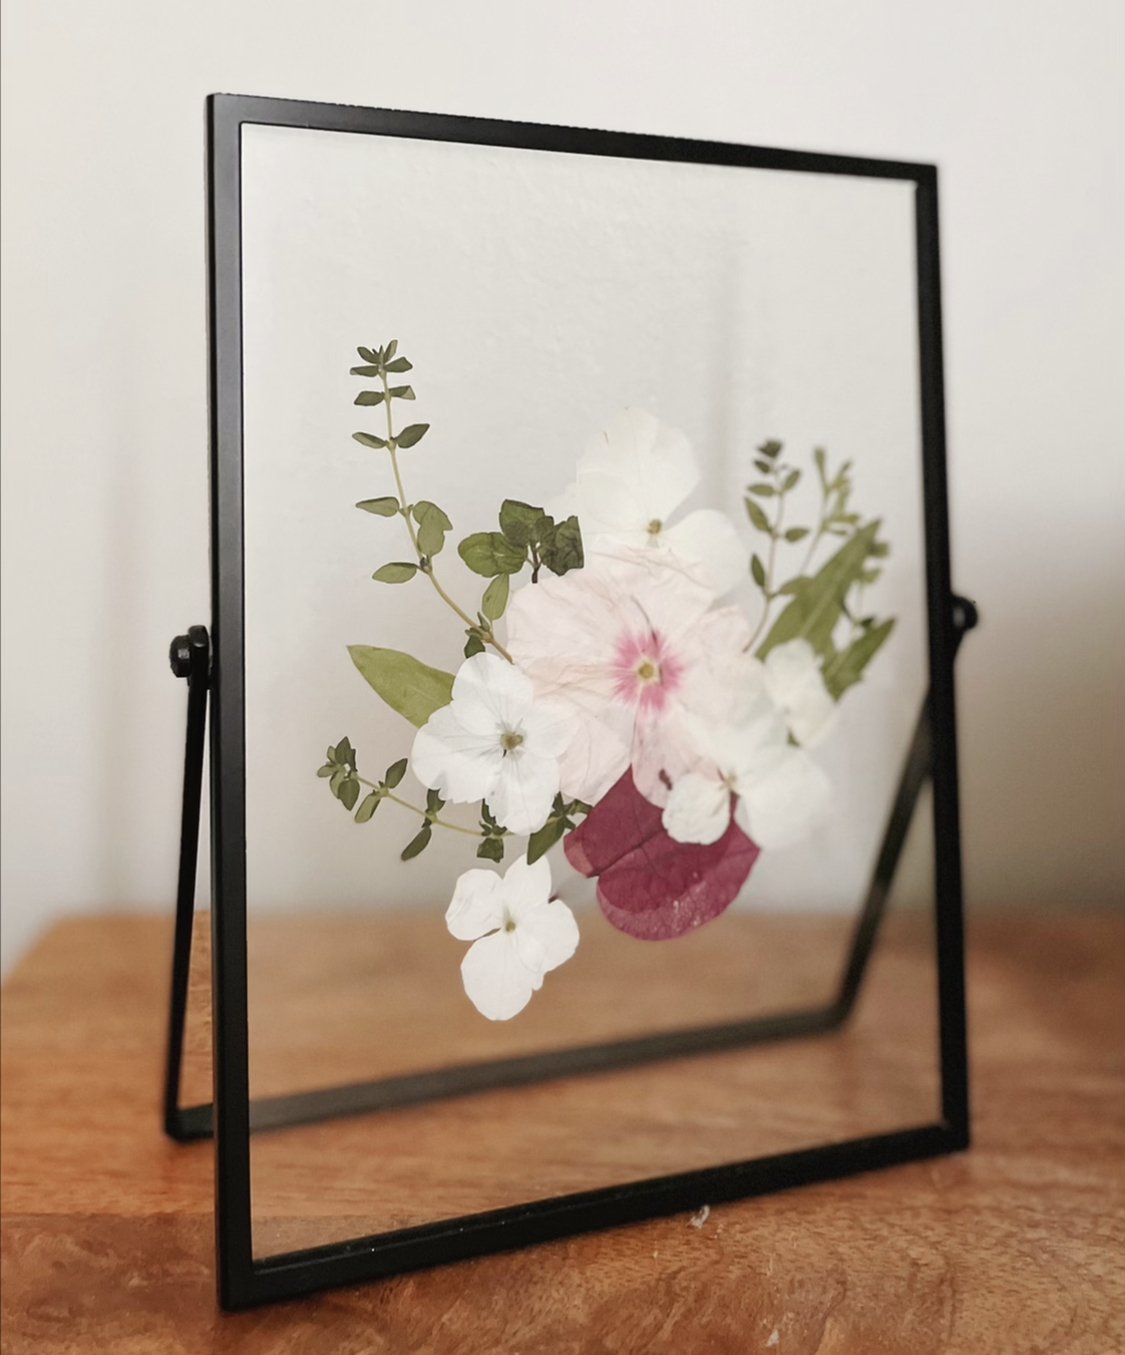
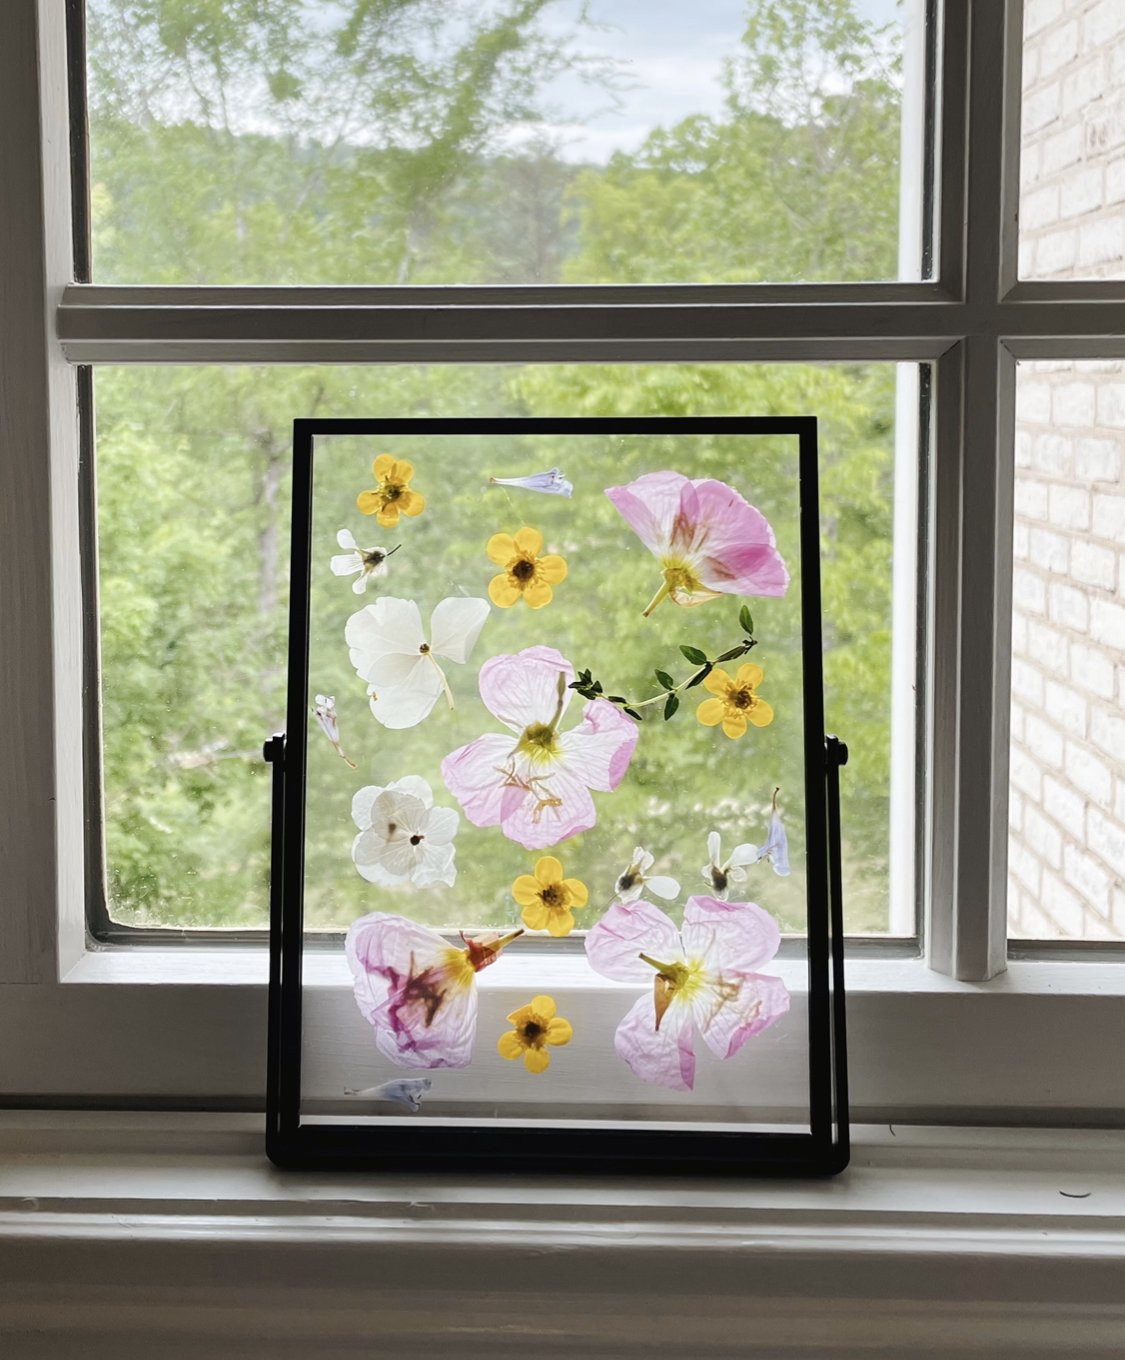
Step 3.)Select a double glass frame to display your preserved flowers. You can find them at Target, Home Goods, or even a thrift store!
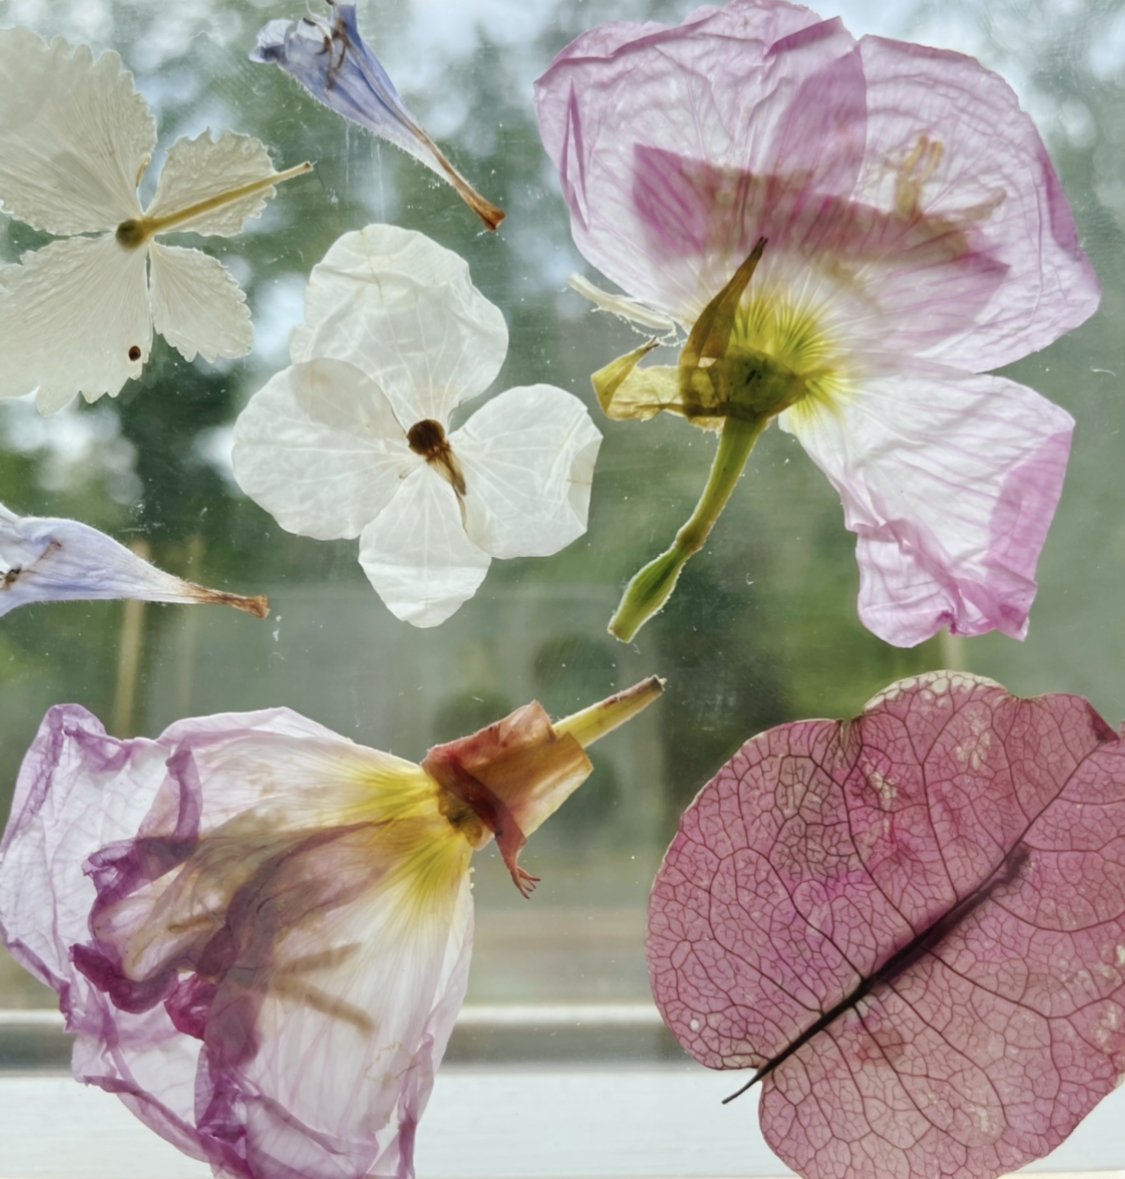
Step 4.) Arrange your dried, pressed flowers in your frame. If you want, you can add a photo and arrange the flowers around it or display the flowers alone in the frame. You may need to add just a touch of glue to keep the flowers in place.
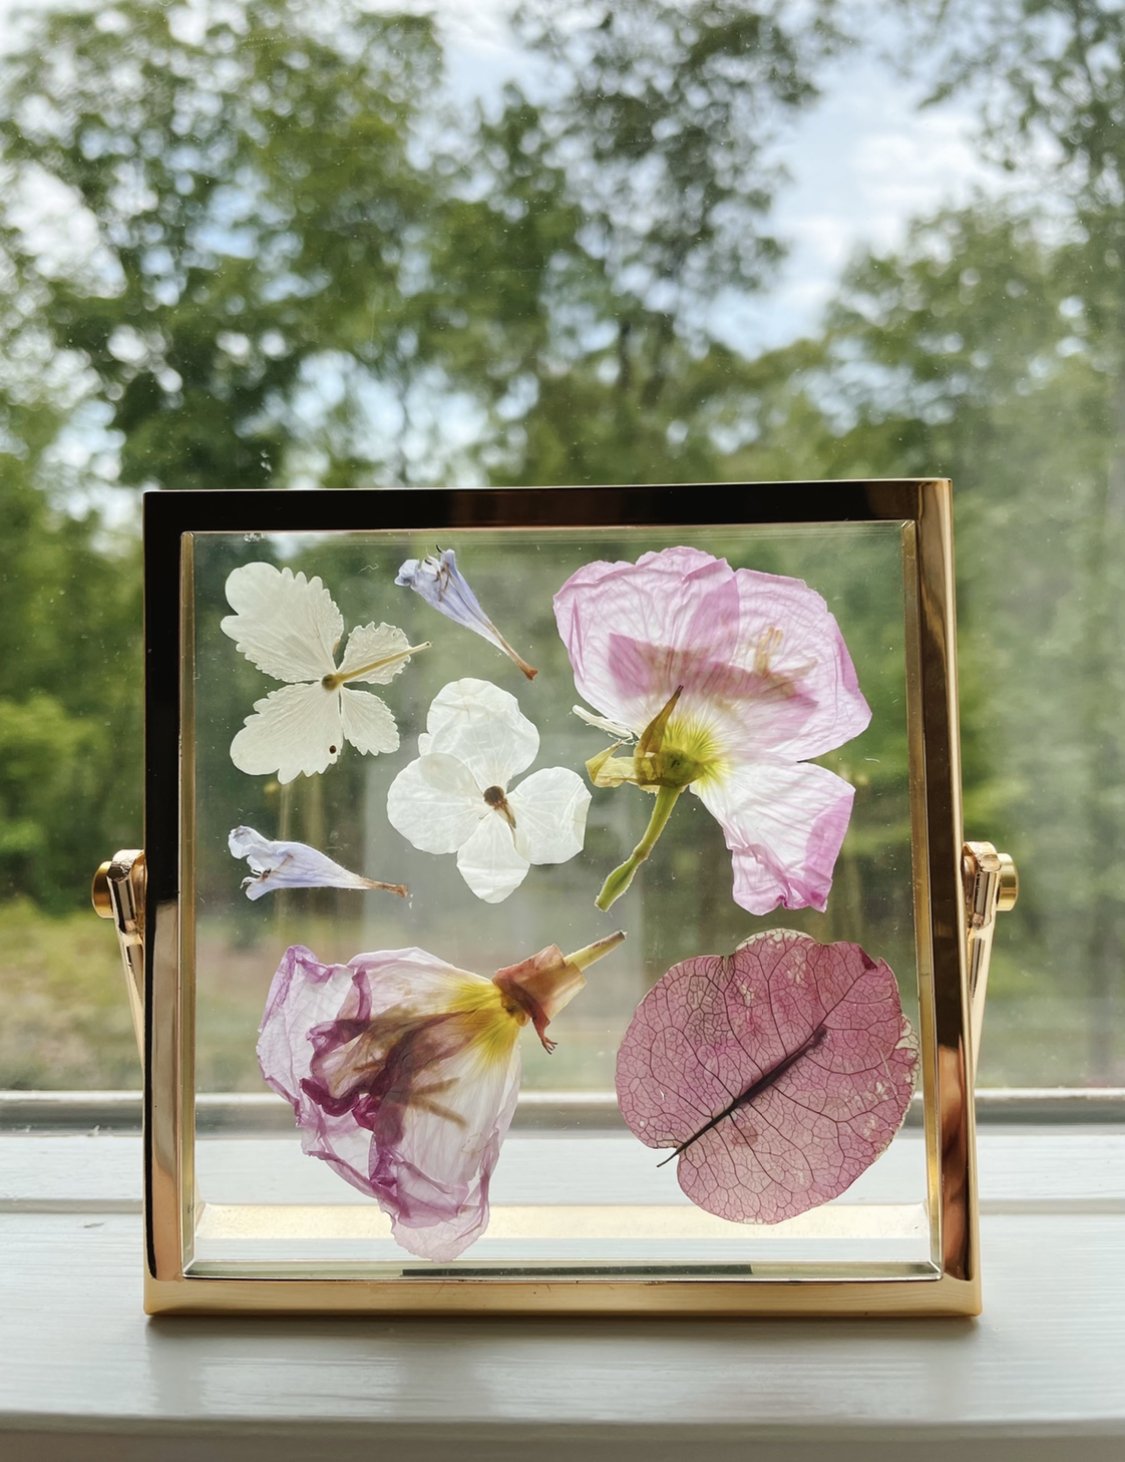
Step 5.) Display your new homemade floral art in your home or give as a gift!
Claire’s Pro Tip: If you give your mom flowers for Mothers Day, save the flowers to make her a bonus mother’s day gift — maybe even add a picture of you and her. This would also make a great keepsake for your bridesmaids using the flowers from their bouquets!

If you would like to catch up on the last DIY, you can find that crafting session here!